# Shift Assignment
# Introduction
The Shift Assessment feature allows you to manage your employees' shift assignments effectively. This user manual provides instructions on how to assign shifts and how to import shift assignments from an Excel sheet.
# Primary info
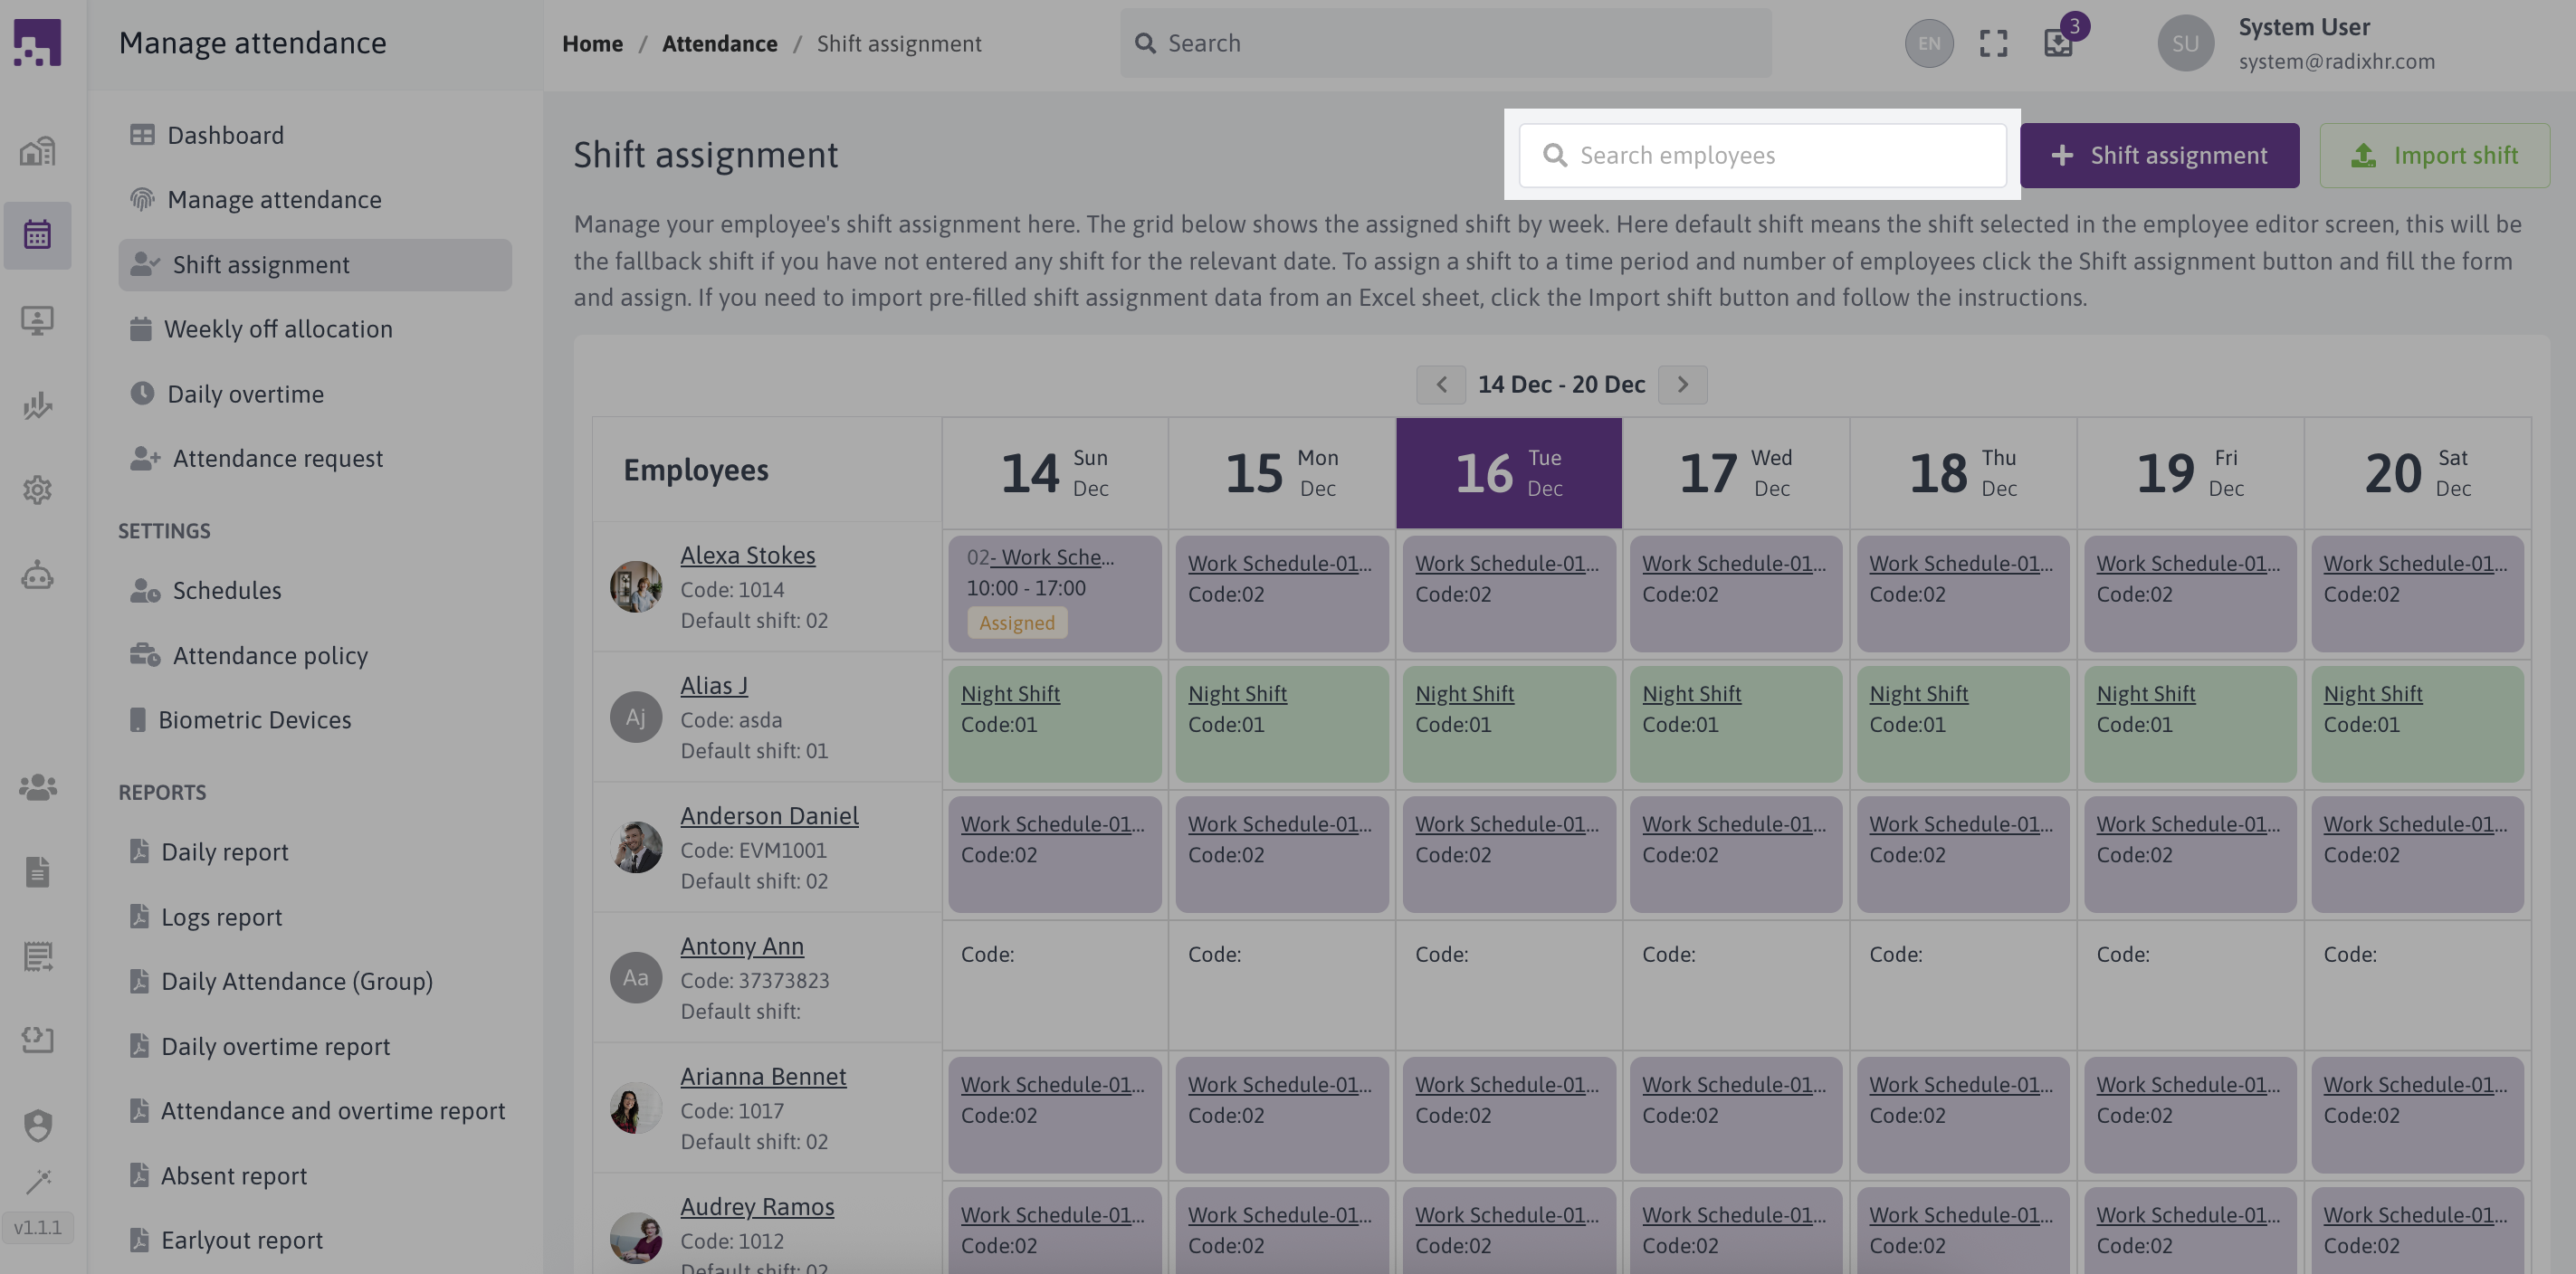
Manage your employee's shift assignment here. The grid below shows the assigned shift by week. Here default shift means the shift selected in the employee editor screen, this will be the fallback shift if you have not entered any shift for the relevant date. To assign a shift to a time period and number of employees click the Shift assignment button and fill the form and assign. If you need to import pre-filled shift assignment data from an Excel sheet, click the Import shift button and follow the instructions.
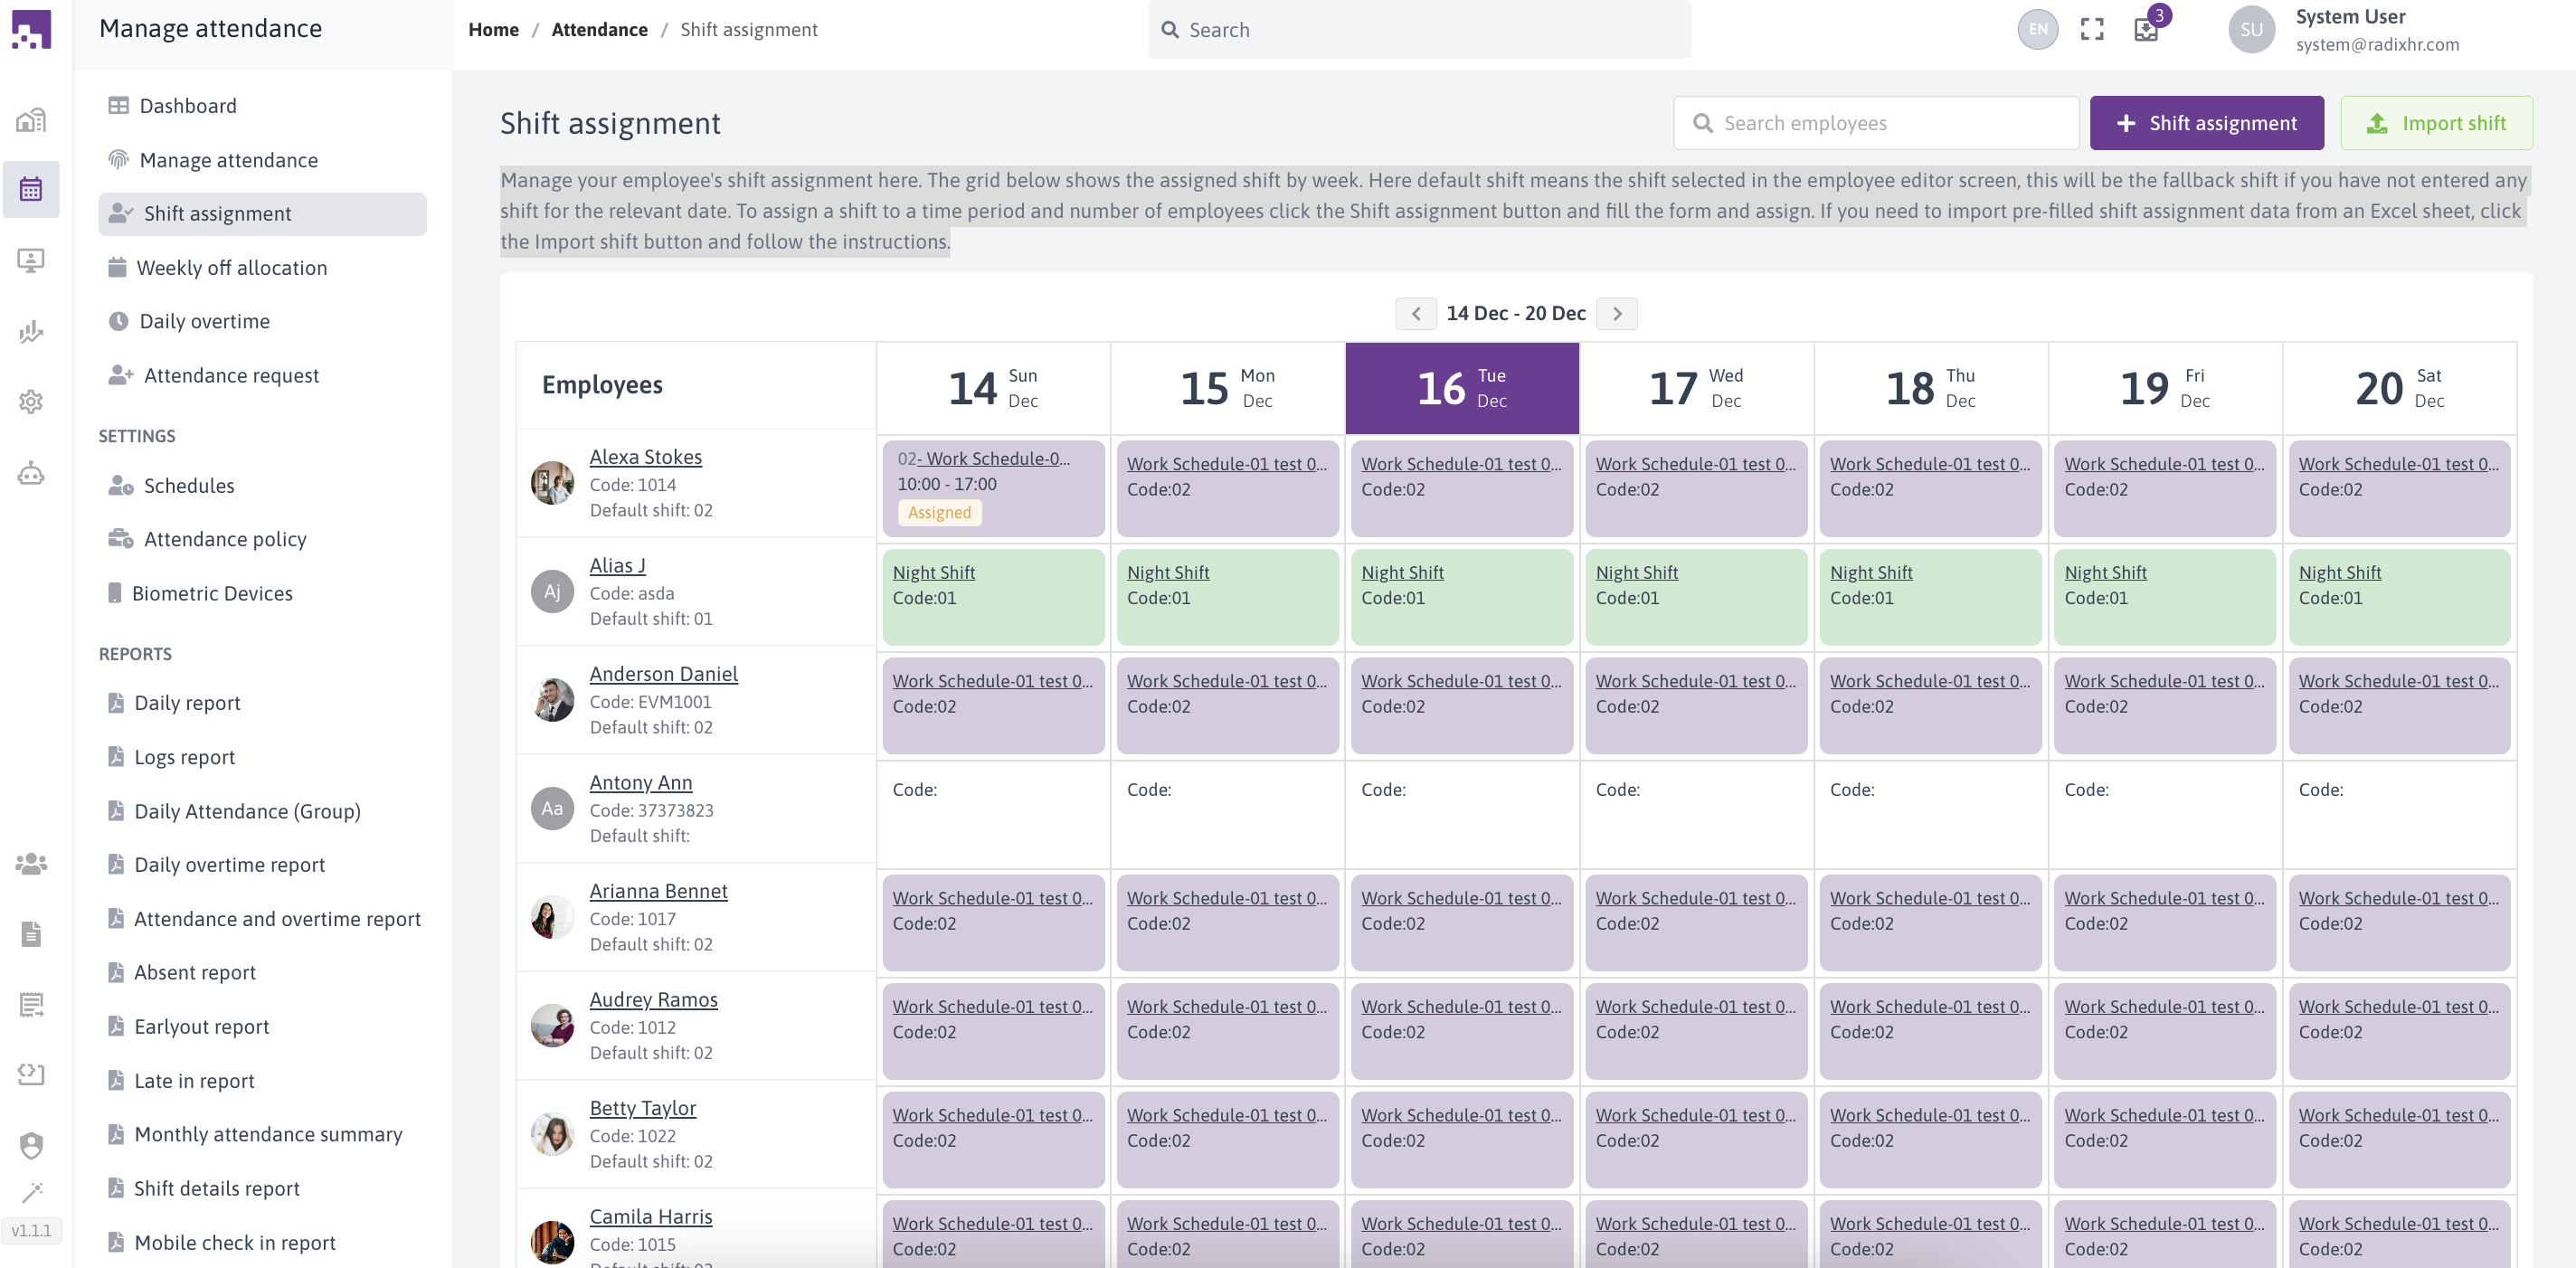
In this screen we can see 4 options to add shift assignment , import shift, search and edit shift
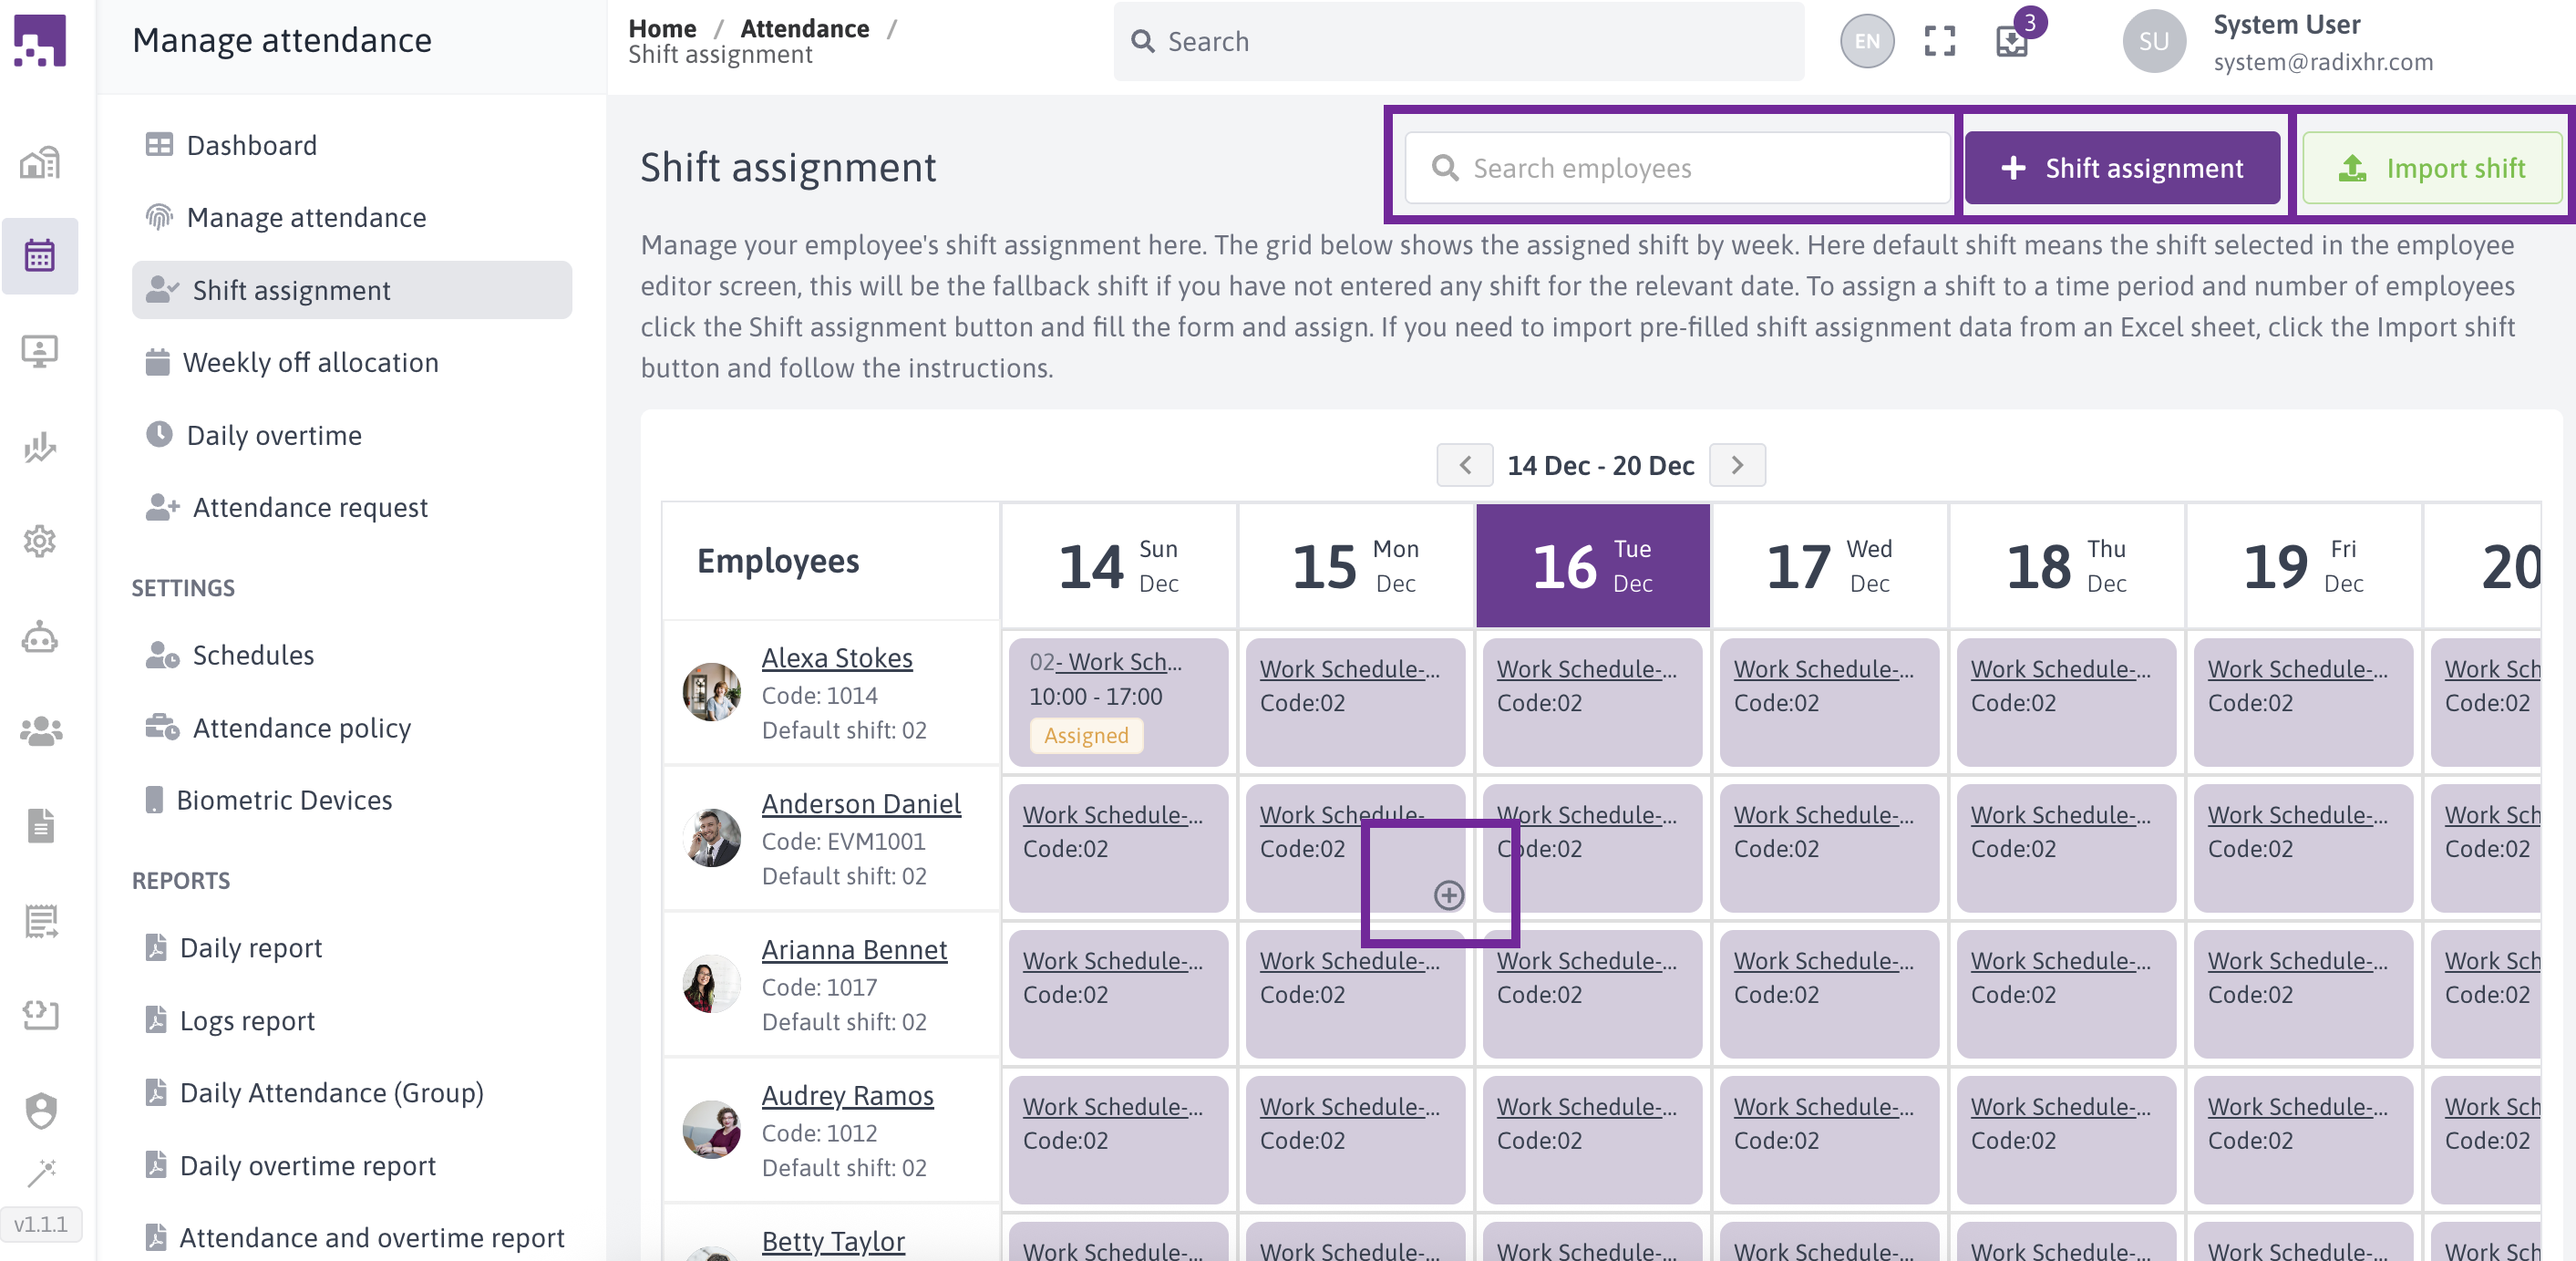
# Assigning Shifts from the Grid
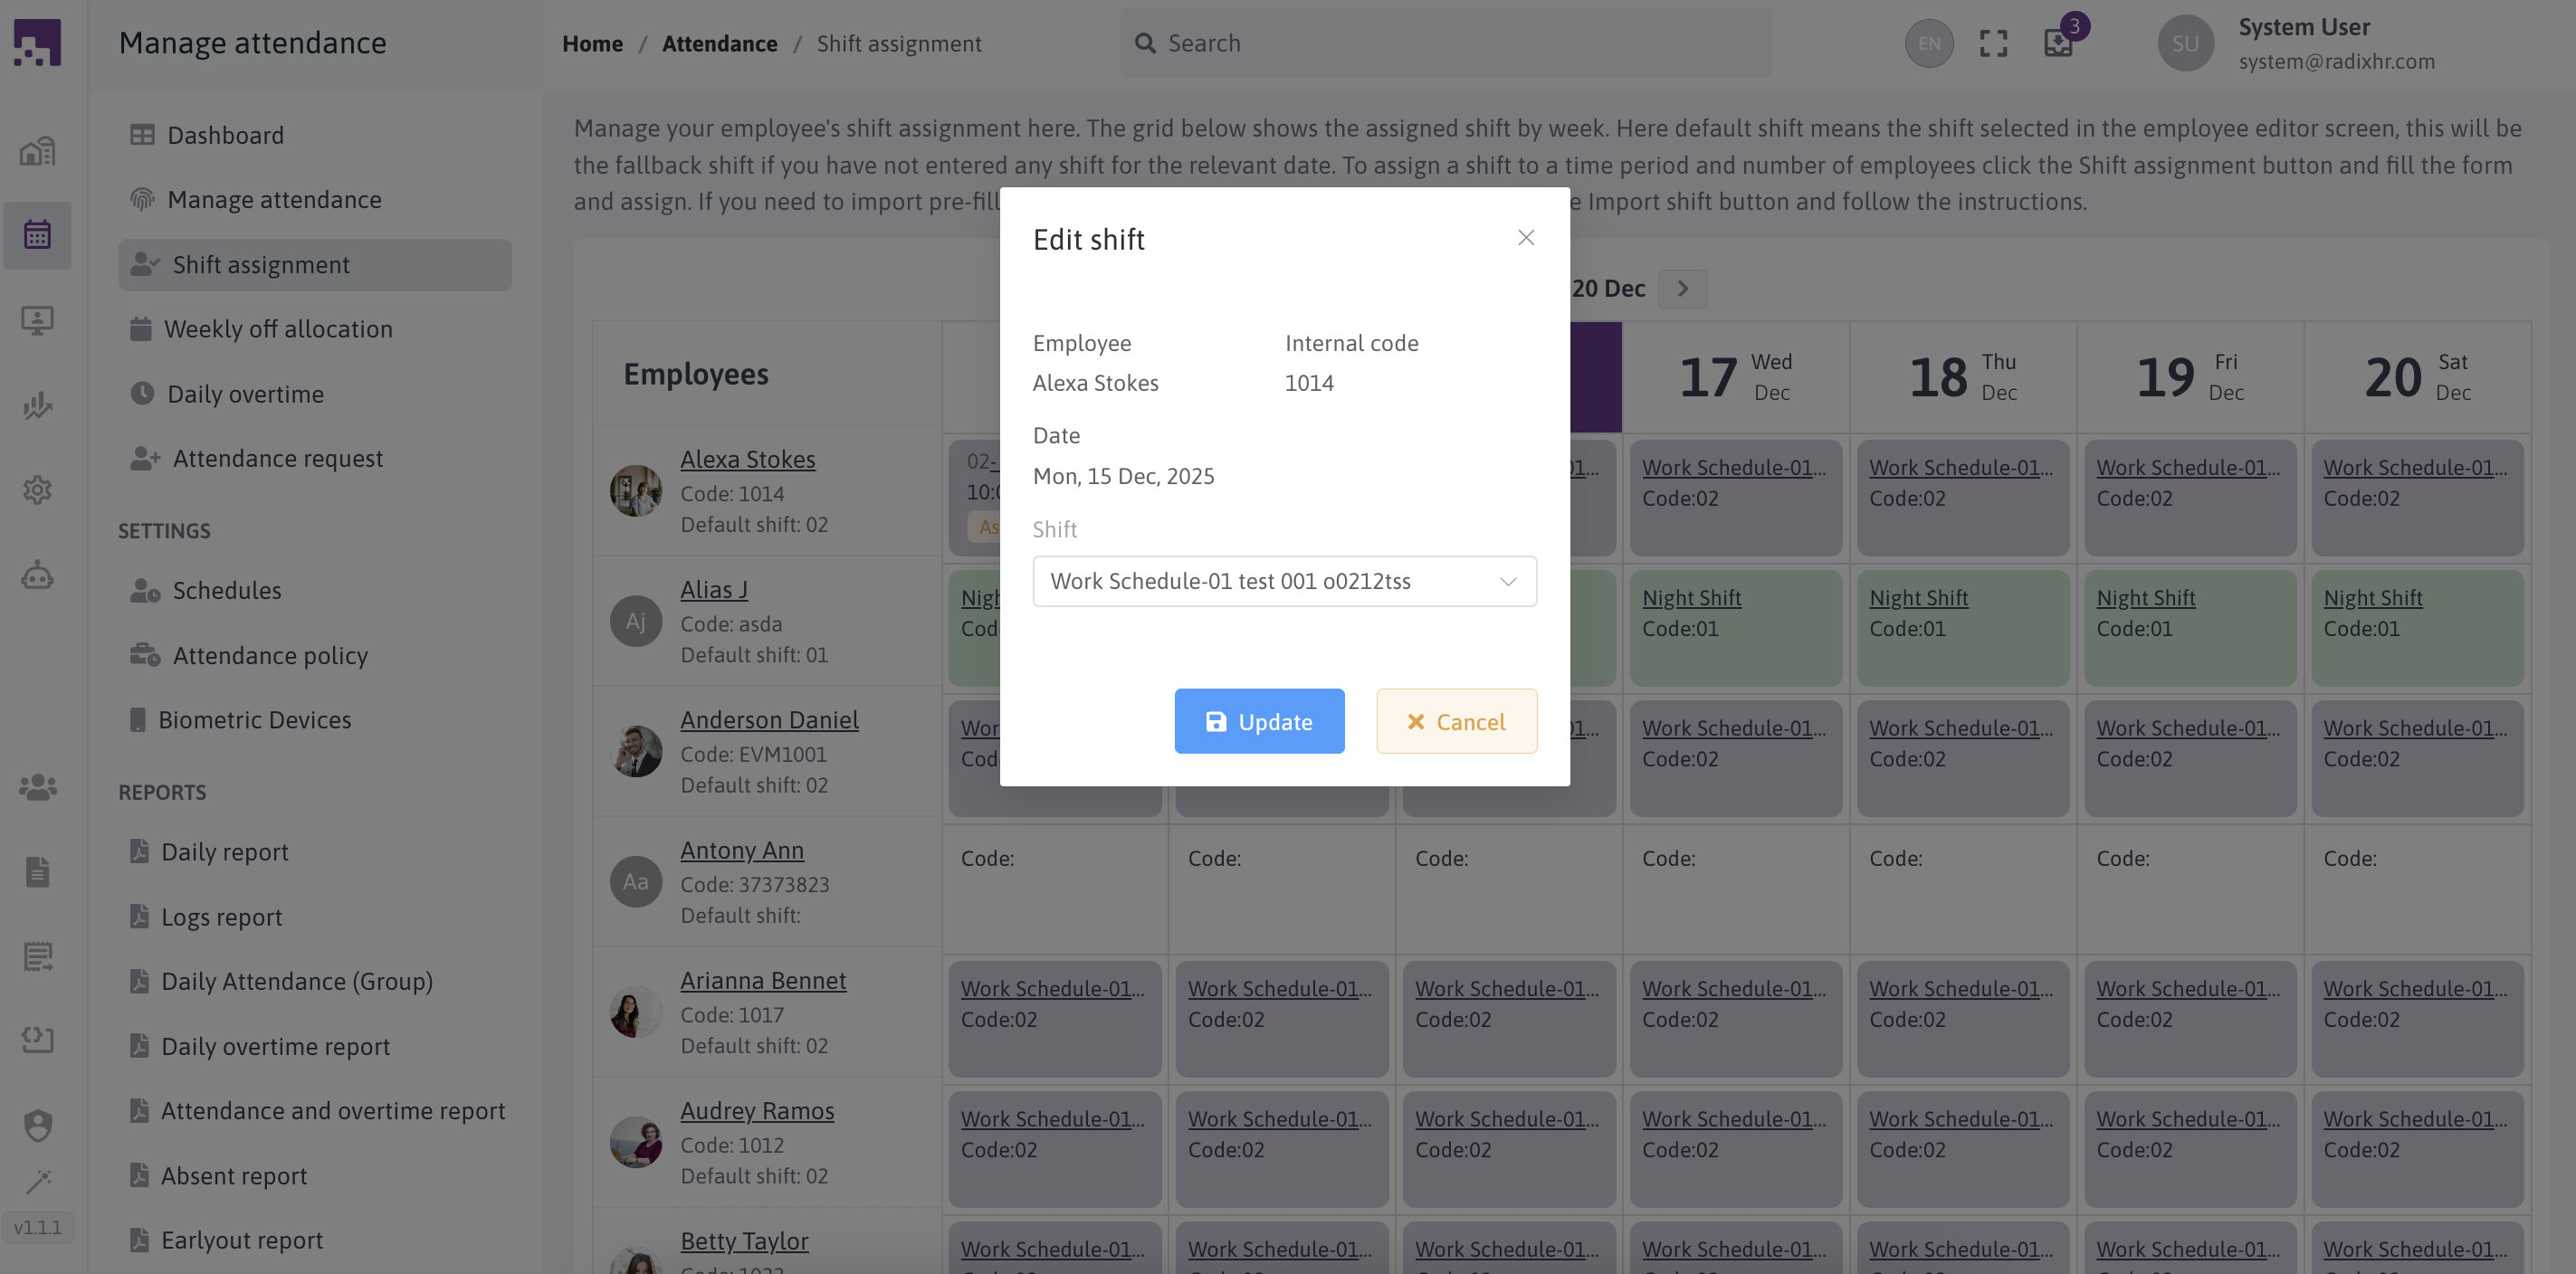
- Click the plus icon in the grid for the desired row.
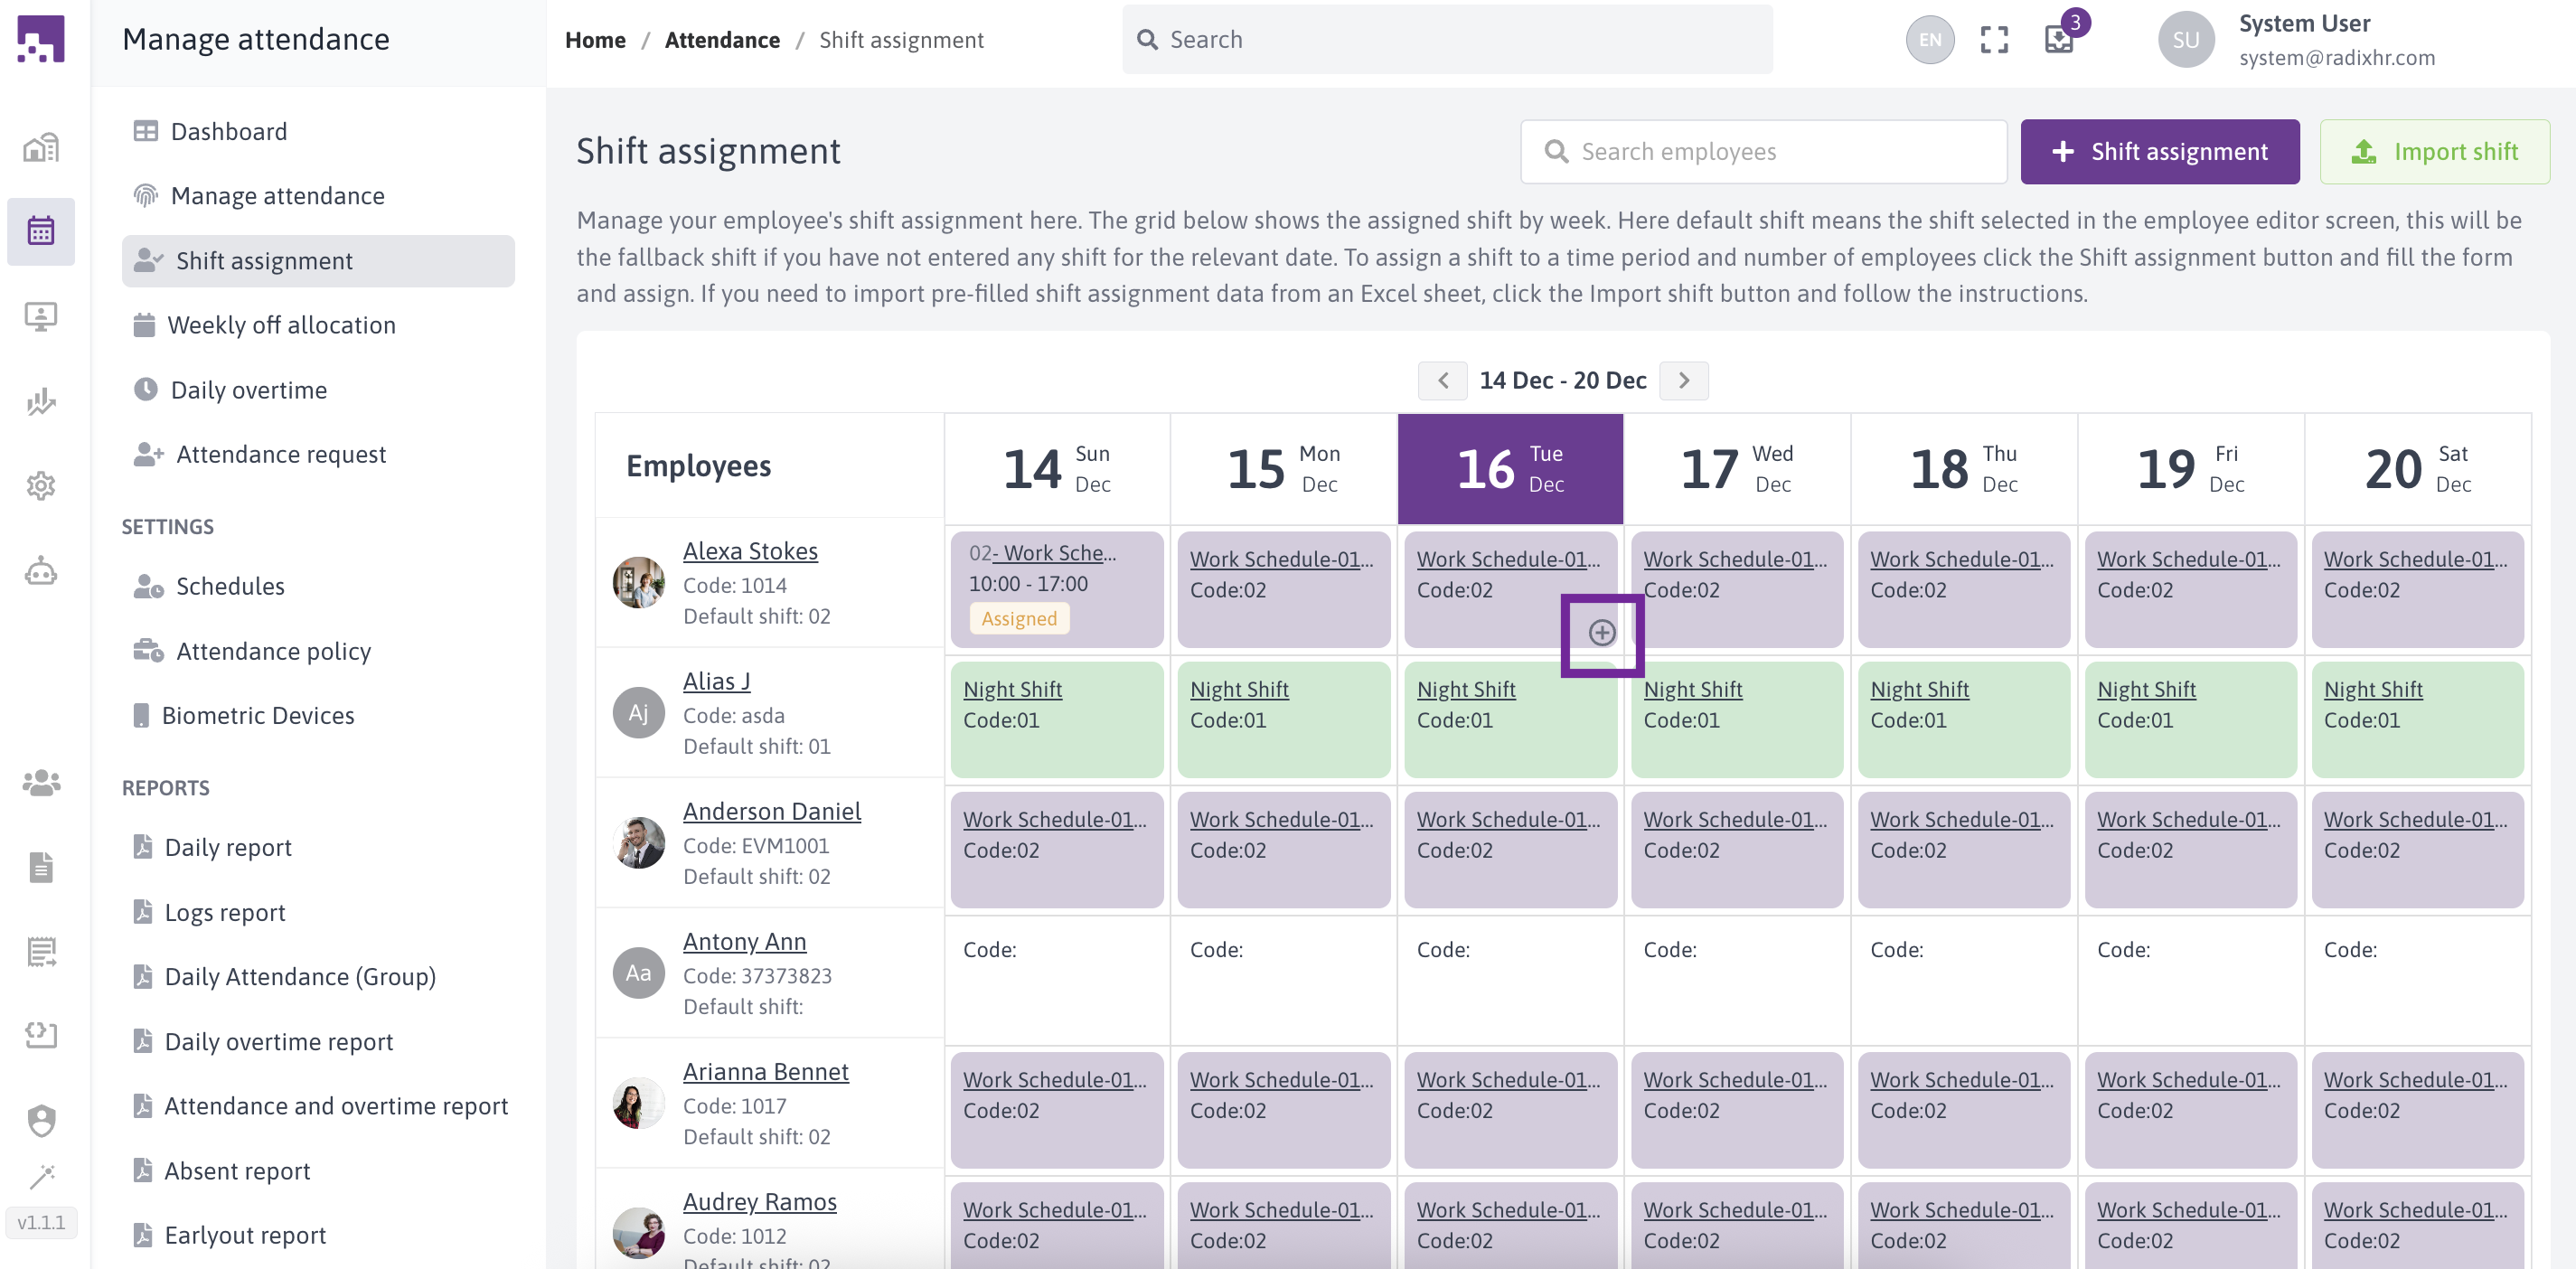
- Select the shift you want to assign for the employee and date in the selected row.
# Edit/Delete Assigned Shifts from the Grid
Click the edit or delete icon in the grid for the desired row.
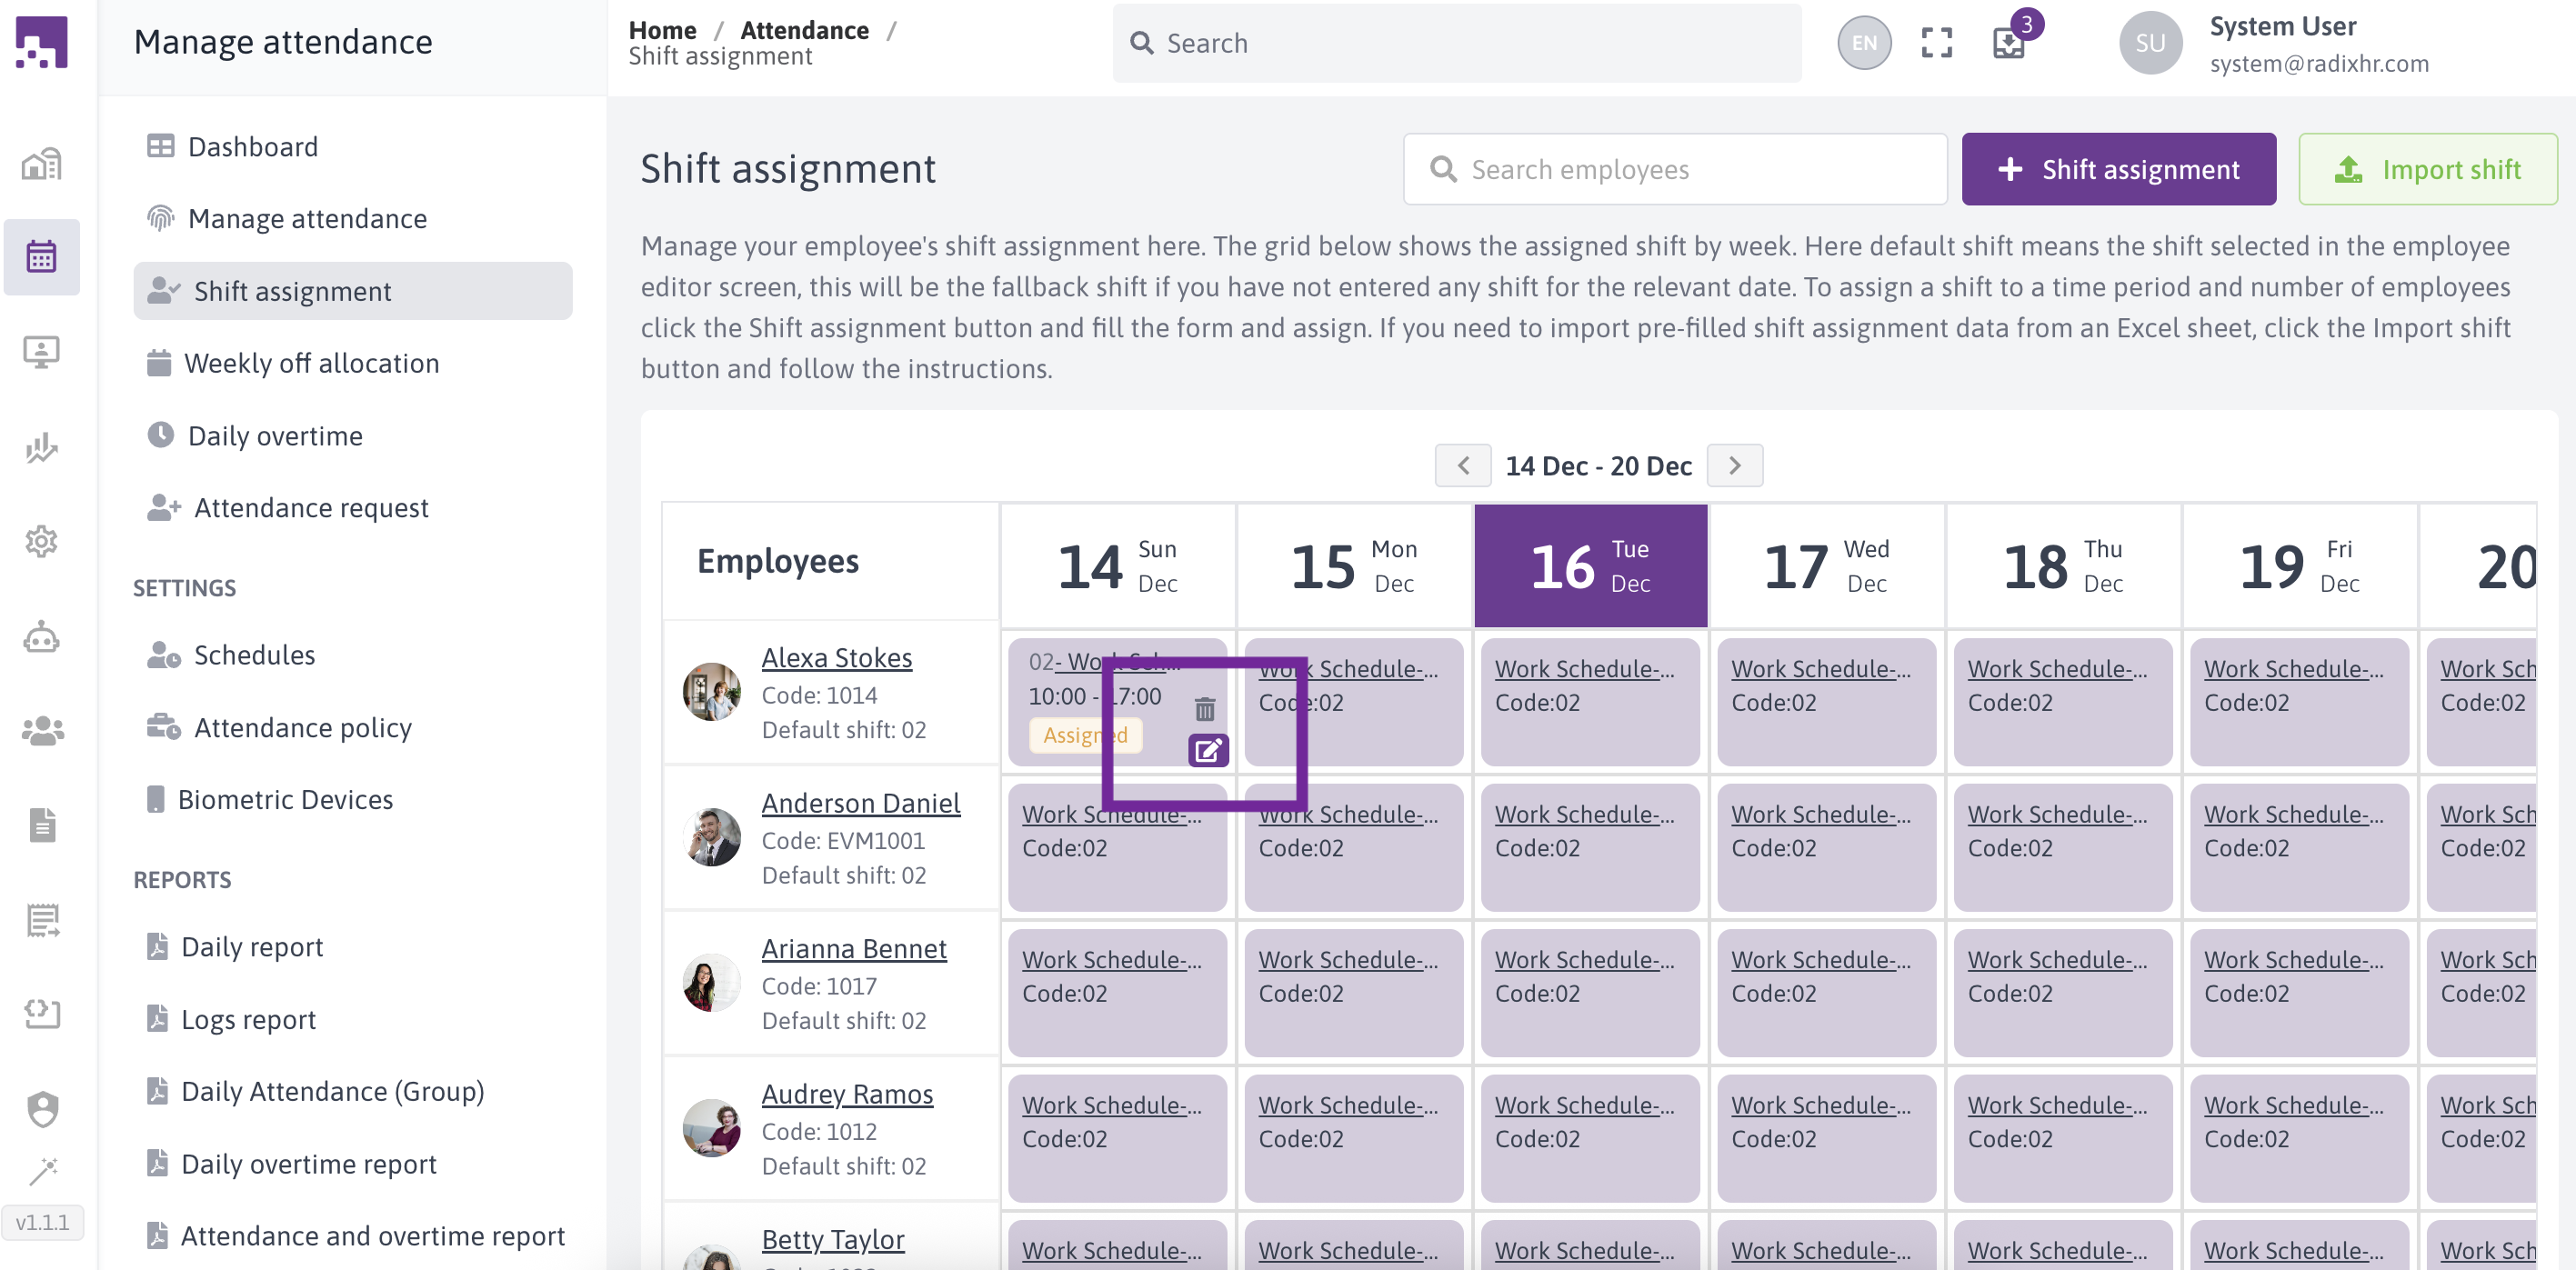
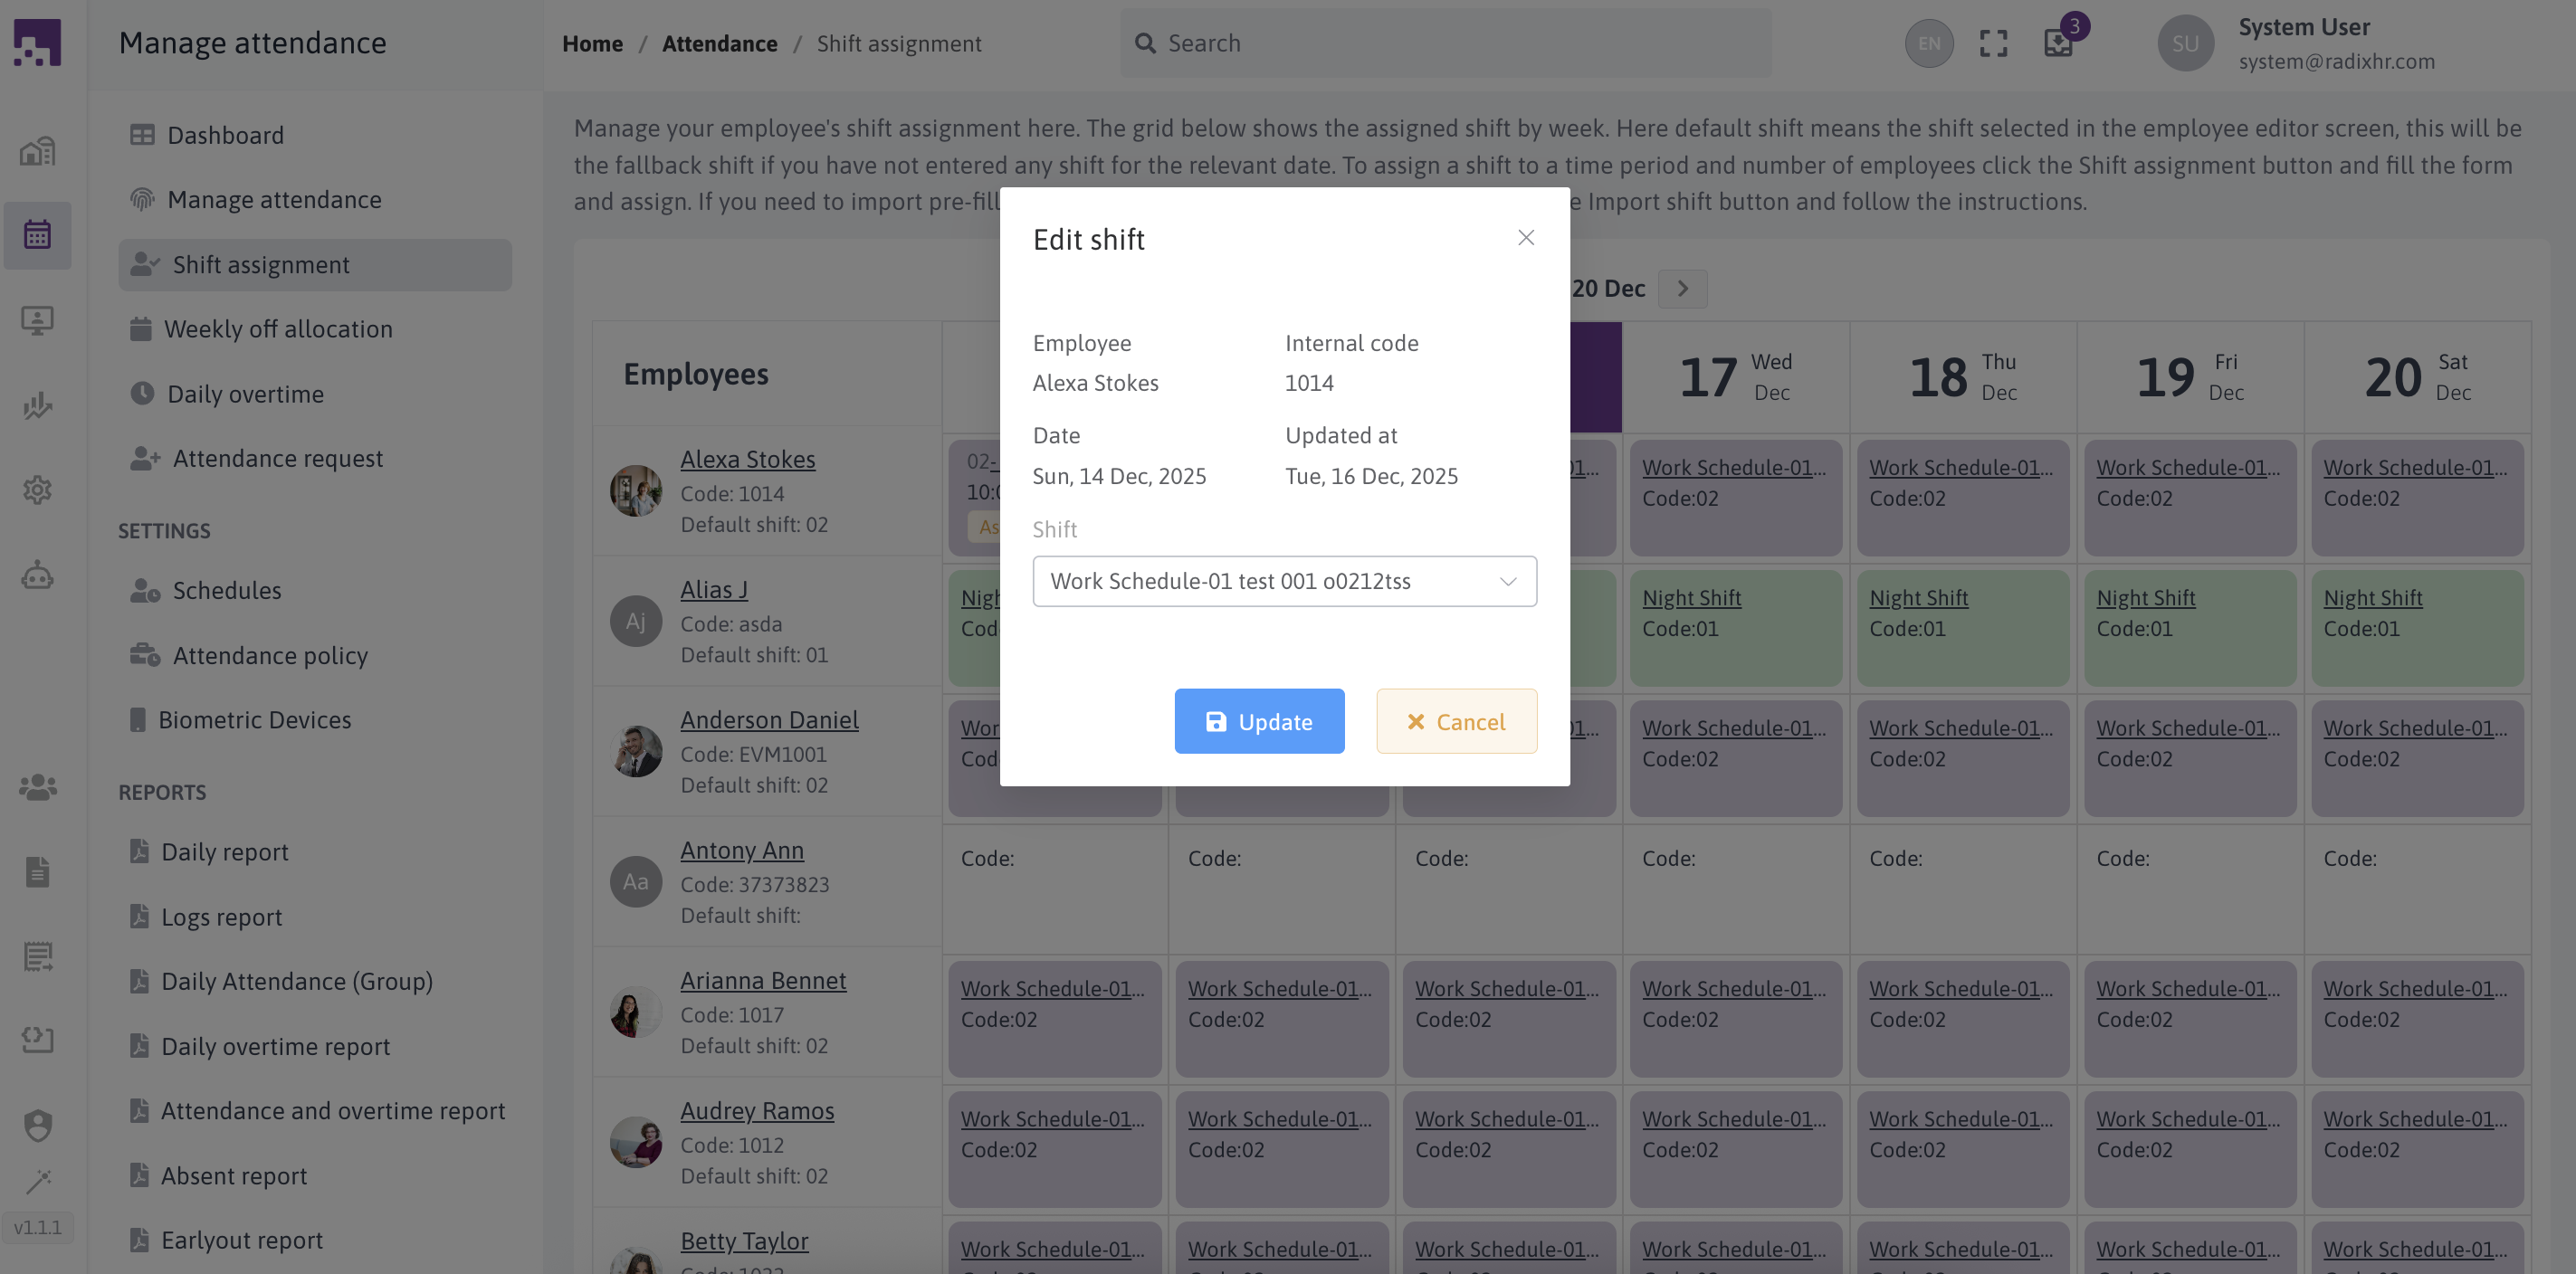
After clicking the edit icon , a dialogue box will appear where you can make neccesary changes
# Assigning Shifts for Multiple Employees and Date Range
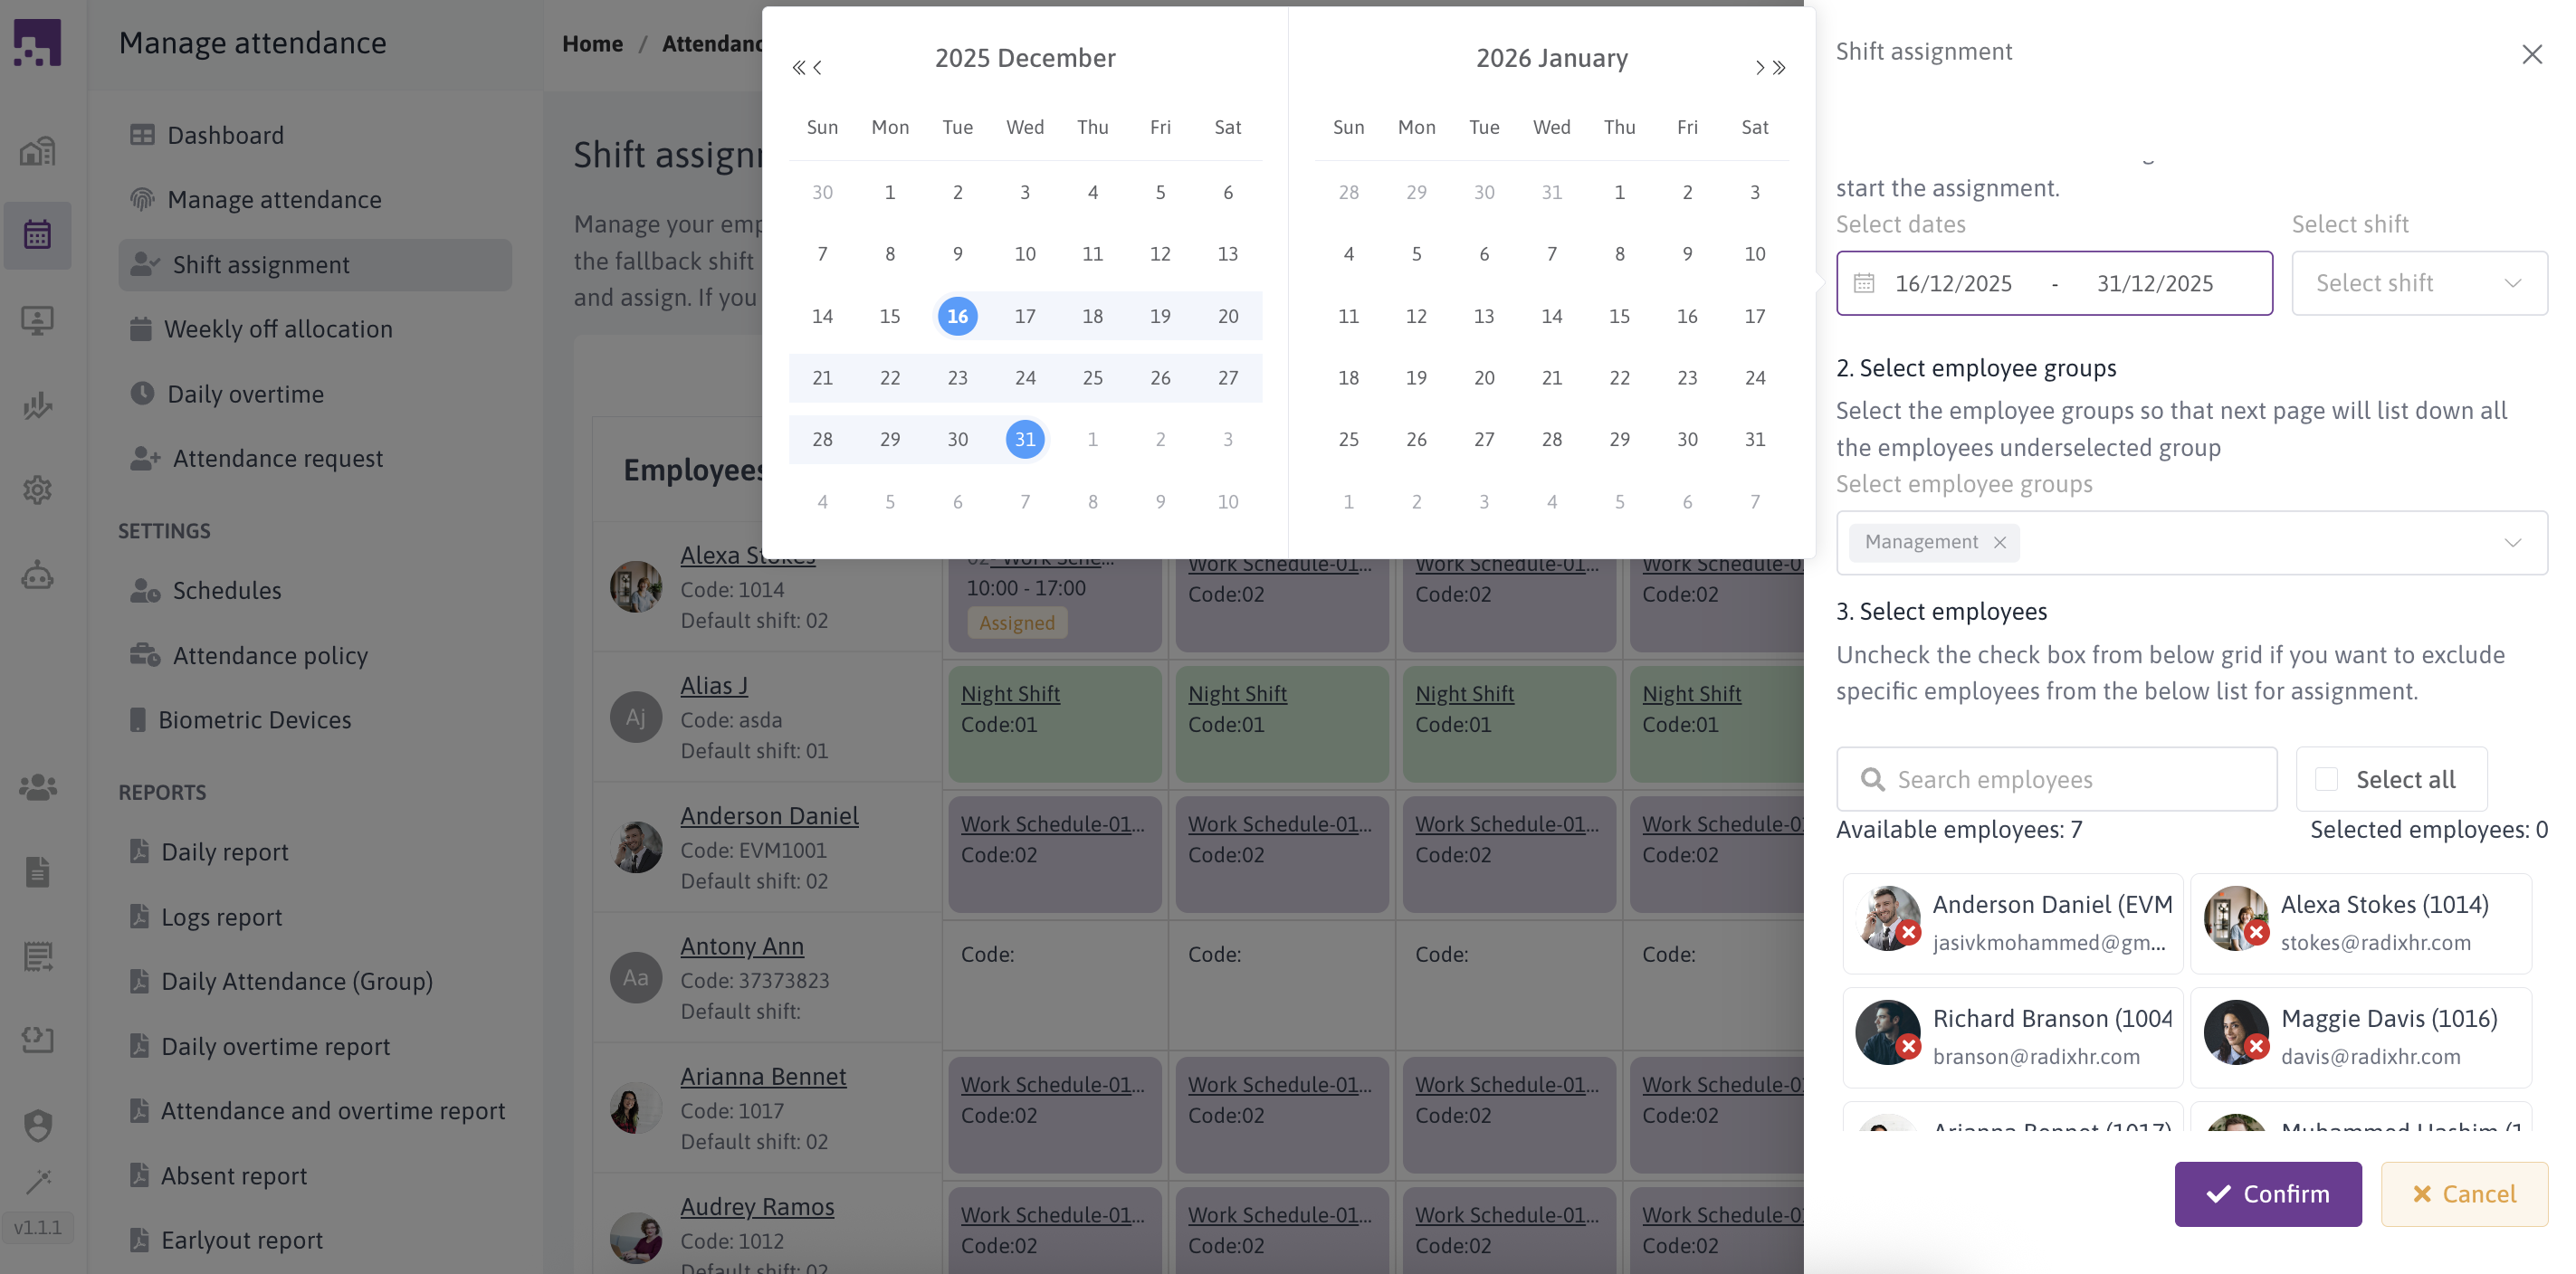
- Click the "Shift Assignment" button.
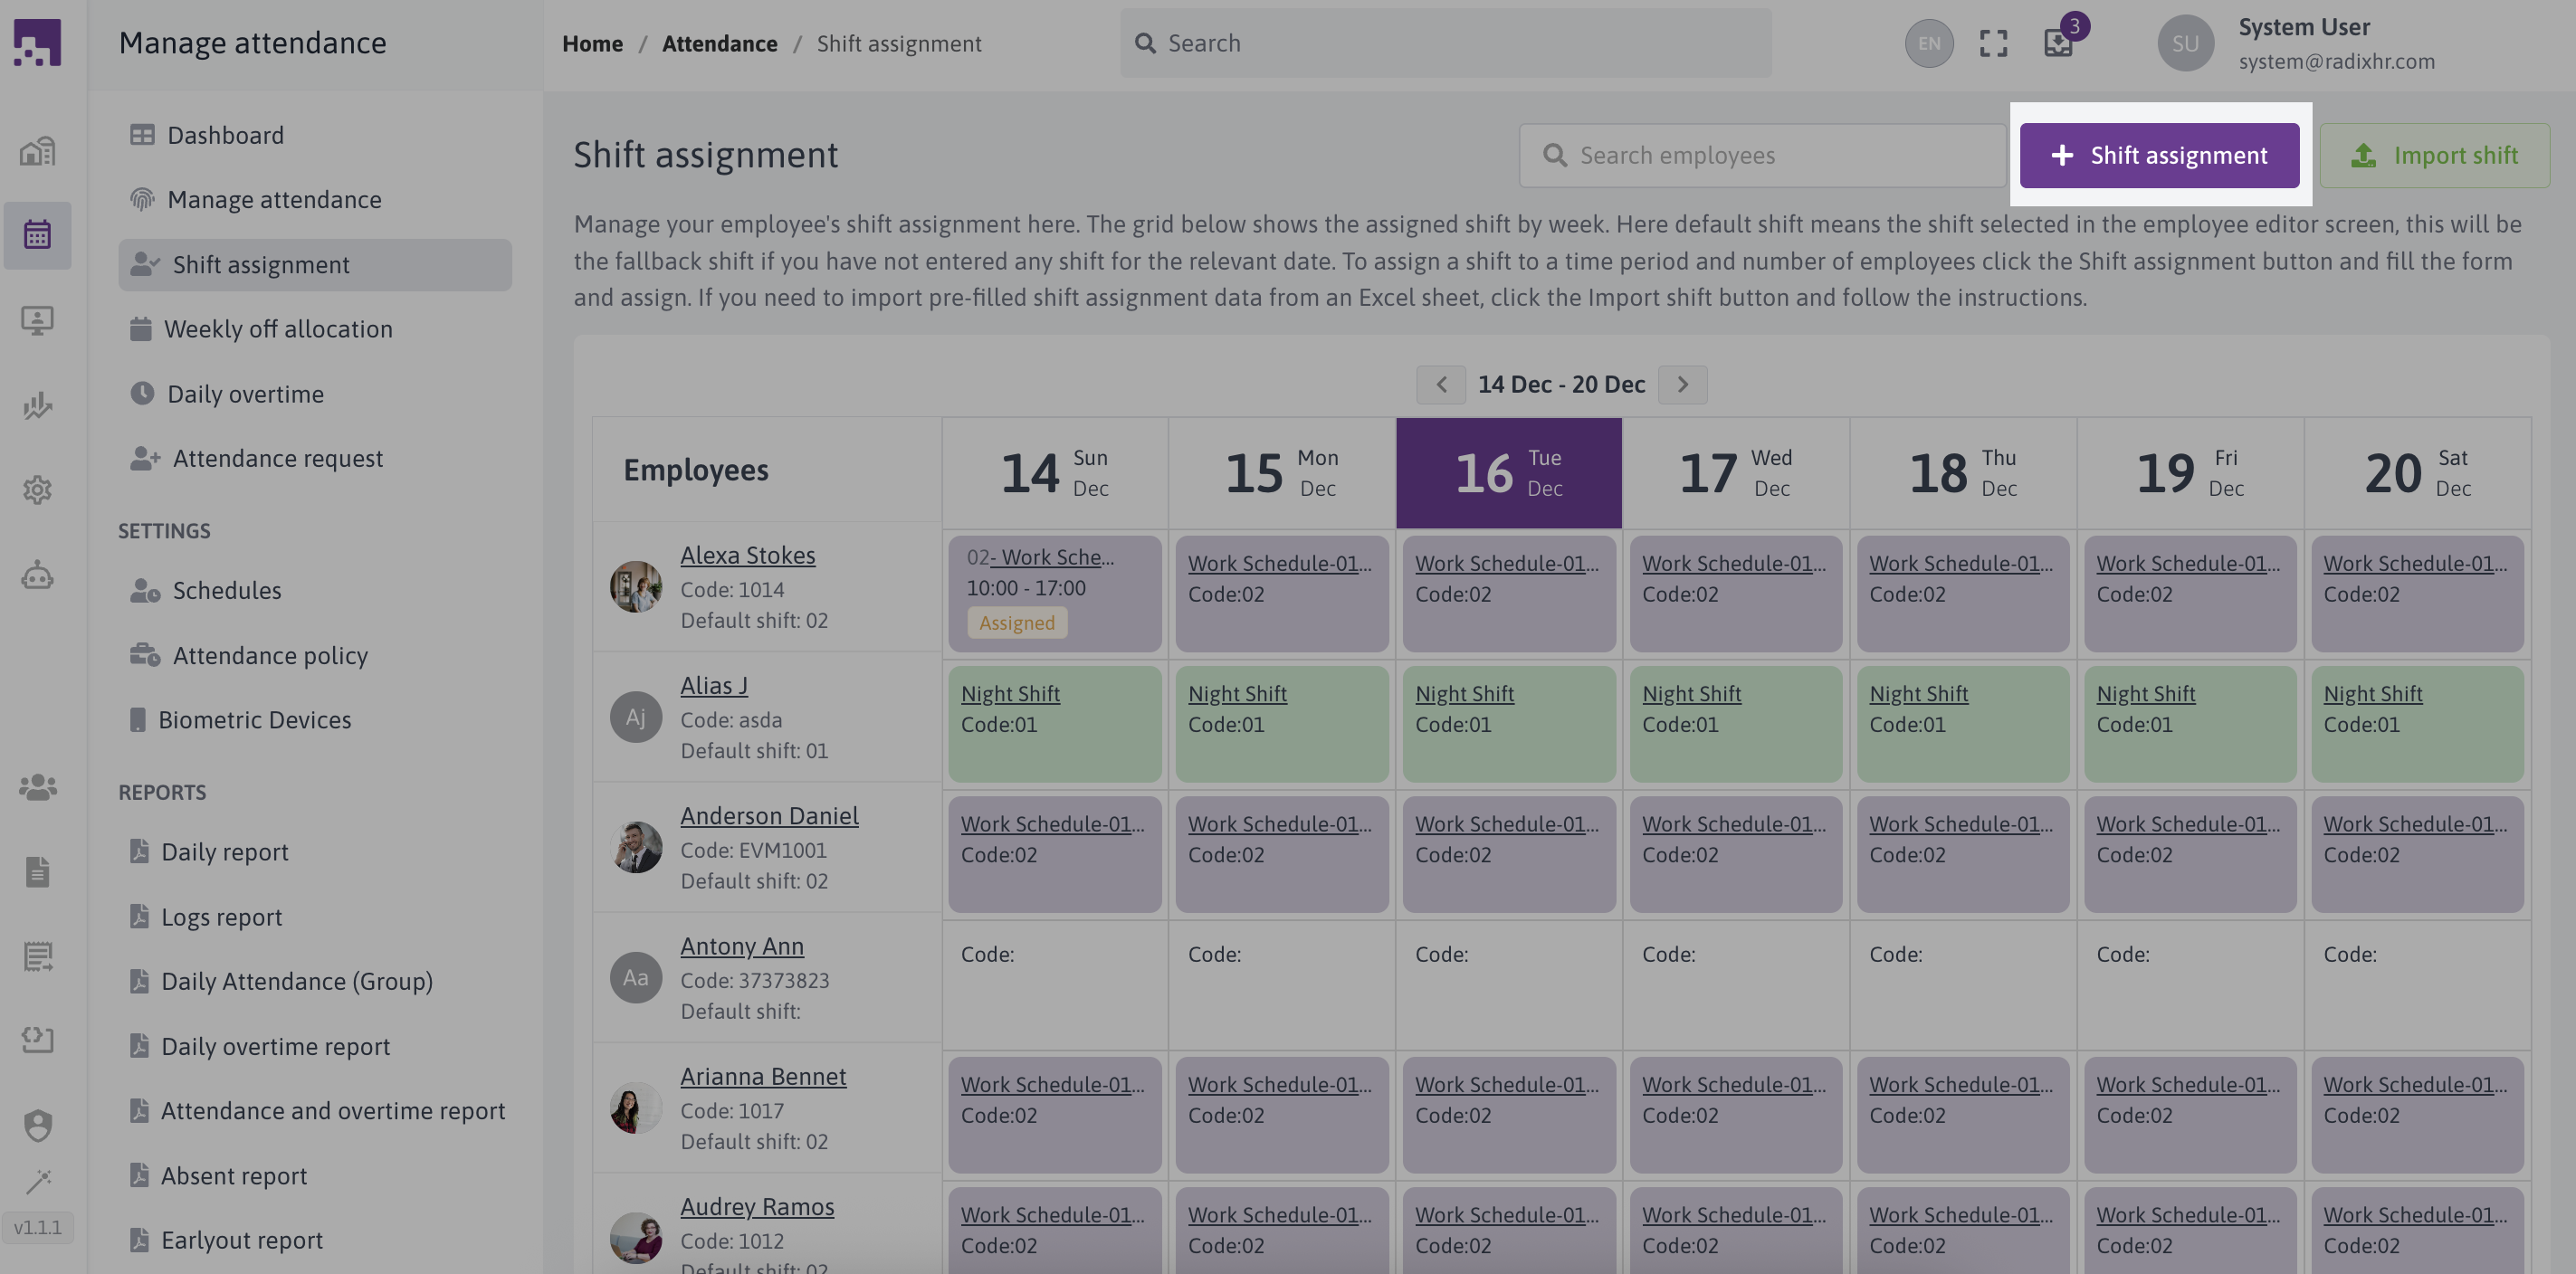
- Select the desired date range for the shift assignment.
- Choose the shift to start the assignment.
- Select the employee groups to include in the assignment.
- The next page will list all employees under the selected groups.
- Uncheck the checkbox for any specific employees you want to exclude from the assignment.
# Shift Import
To import pre-filled shift assignment data from an Excel sheet, follow these steps:
- click the import shift button on the top
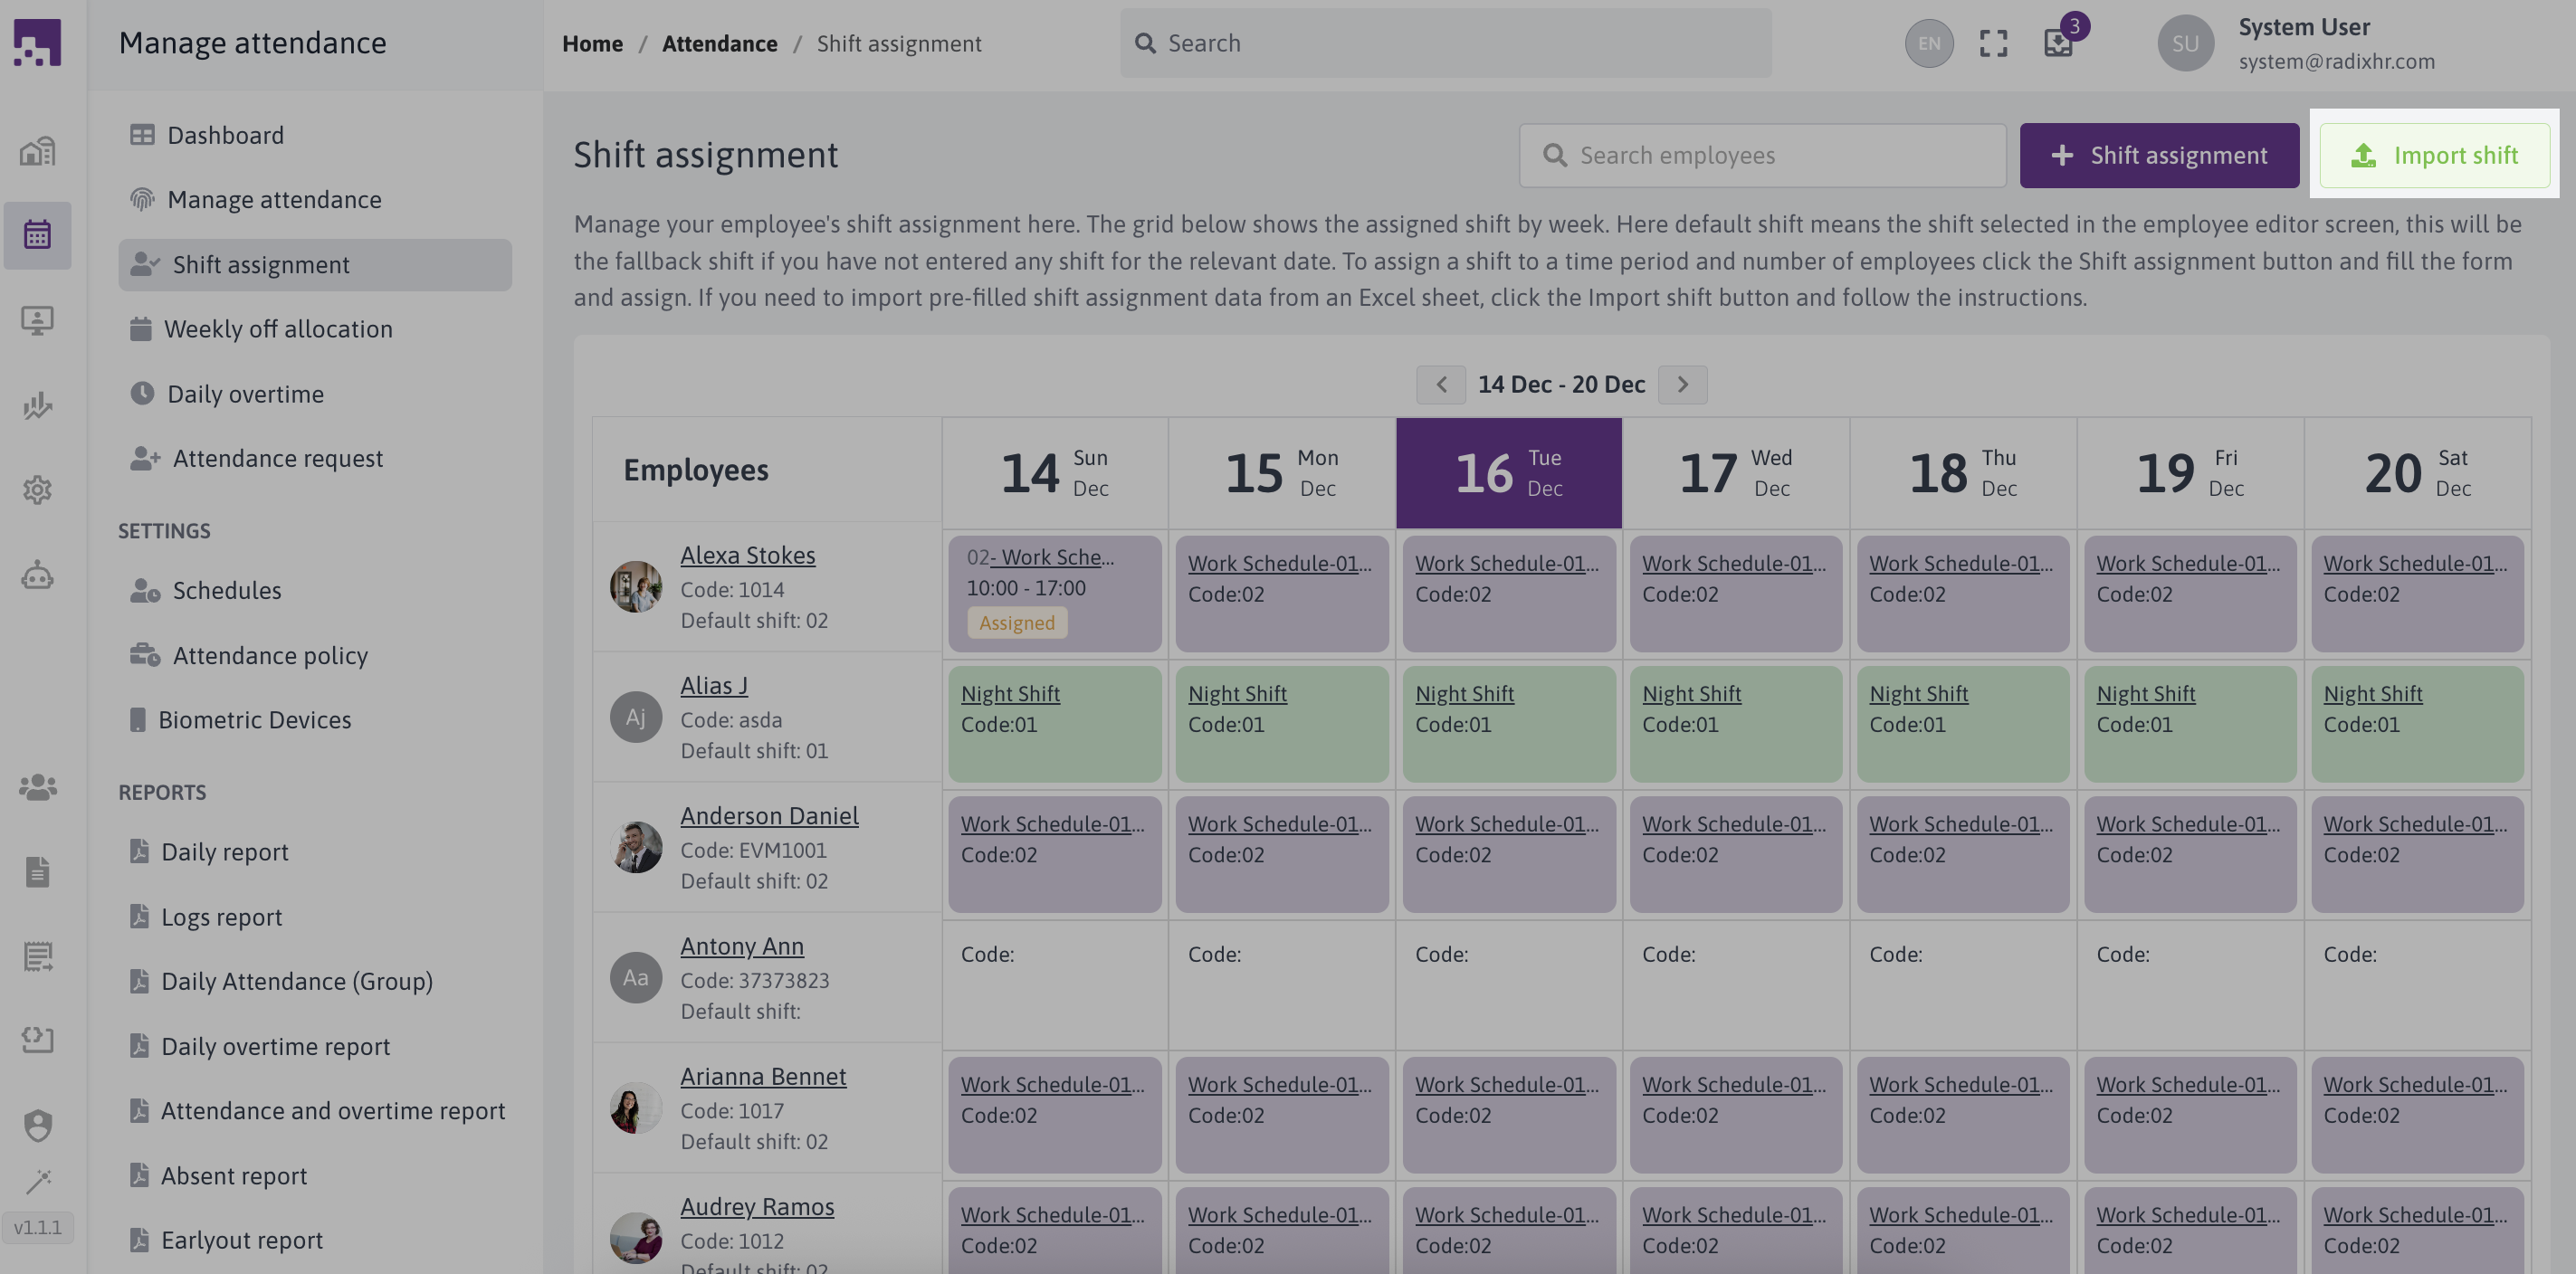
- Download the Excel template provided by the application.
- Fill in the shift data accurately and completely in the template.
- Save the Excel sheet.
- Click the "Import Shift" button.
- Follow the instructions to upload the Excel template containing the shift data.
- The application will process the data and assign shifts if all records are valid. If any invalid records are found, the operation will be aborted.

Note: Make sure the shift data in the Excel template is accurate and complete before importing. It is recommended to review and verify the data before proceeding with the import.
# Search Shift
To search Shift assignment, just click on the search bar with search icon.
