Setting Up Your Workspace
Before you add employees and run day-to-day HR, take a few minutes to set up your company’s RadixHR workspace. This guide walks you through the essential settings — your company profile, regional preferences, and organizational structure.
Workspace settings are for administrators. If you don’t see the Settings option, contact your workspace administrator.
What is a Workspace?
A workspace is your company’s own RadixHR environment. It holds all your employees, settings, and data, kept completely separate and secure from every other company on the platform.
Opening Settings
Click Settings at the bottom of the main sidebar. The Settings hub opens, with everything grouped into categories.
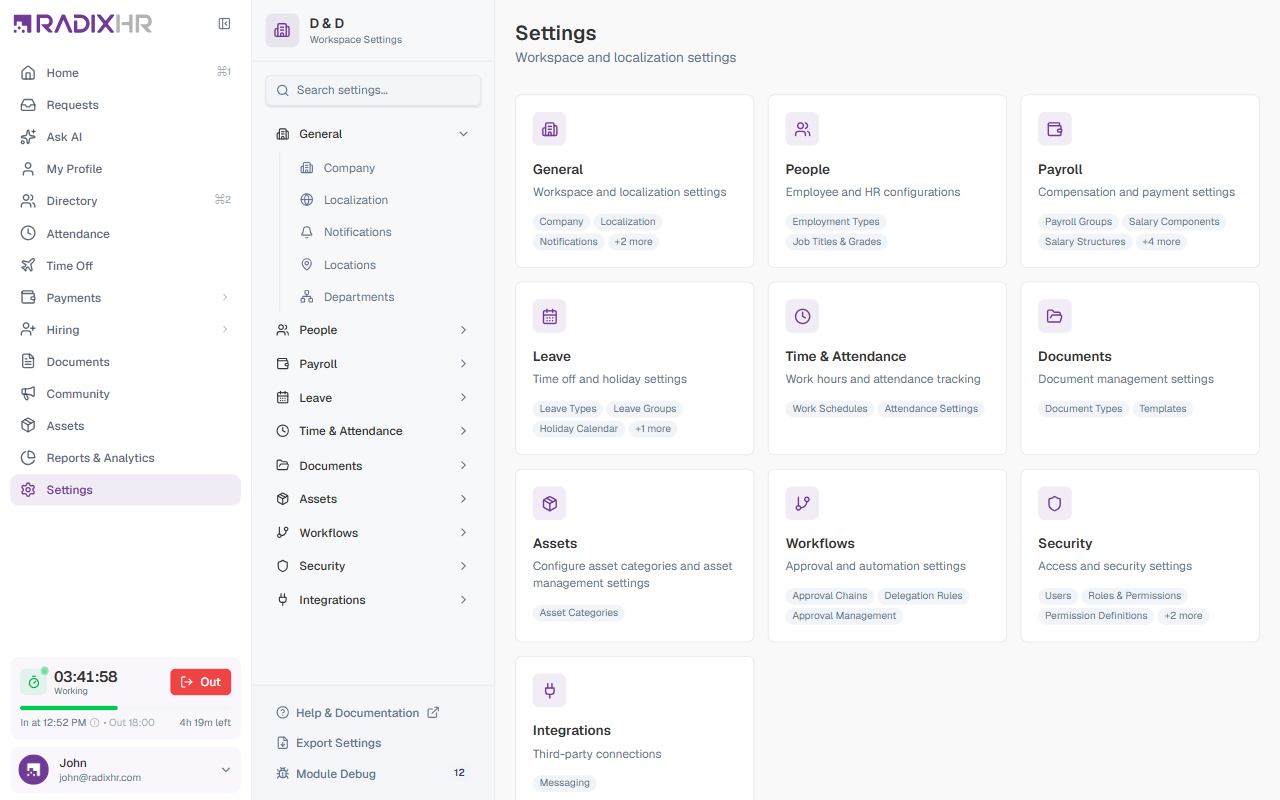
Each card opens a settings category. A sub-navigation panel on the left also lets you jump straight to any page.
| Category | What it covers |
|---|---|
| General | Company profile, localization, notifications, locations, departments |
| People | Employment types, job titles & grades |
| Payroll | Payroll groups, salary components, salary structures, and more |
| Leave | Leave types, leave groups, holiday calendar |
| Time & Attendance | Work schedules and attendance settings |
| Documents | Document types and templates |
| Assets | Asset categories |
| Workflows | Approval chains, delegation rules, approval management |
| Security | Users, roles & permissions |
| Integrations | Third-party connections |
Use the Search settings… box at the top of the sub-navigation to jump straight to a setting by name.
Step 1 — Company Profile
Go to Settings → General → Company to set up your company’s identity and branding.
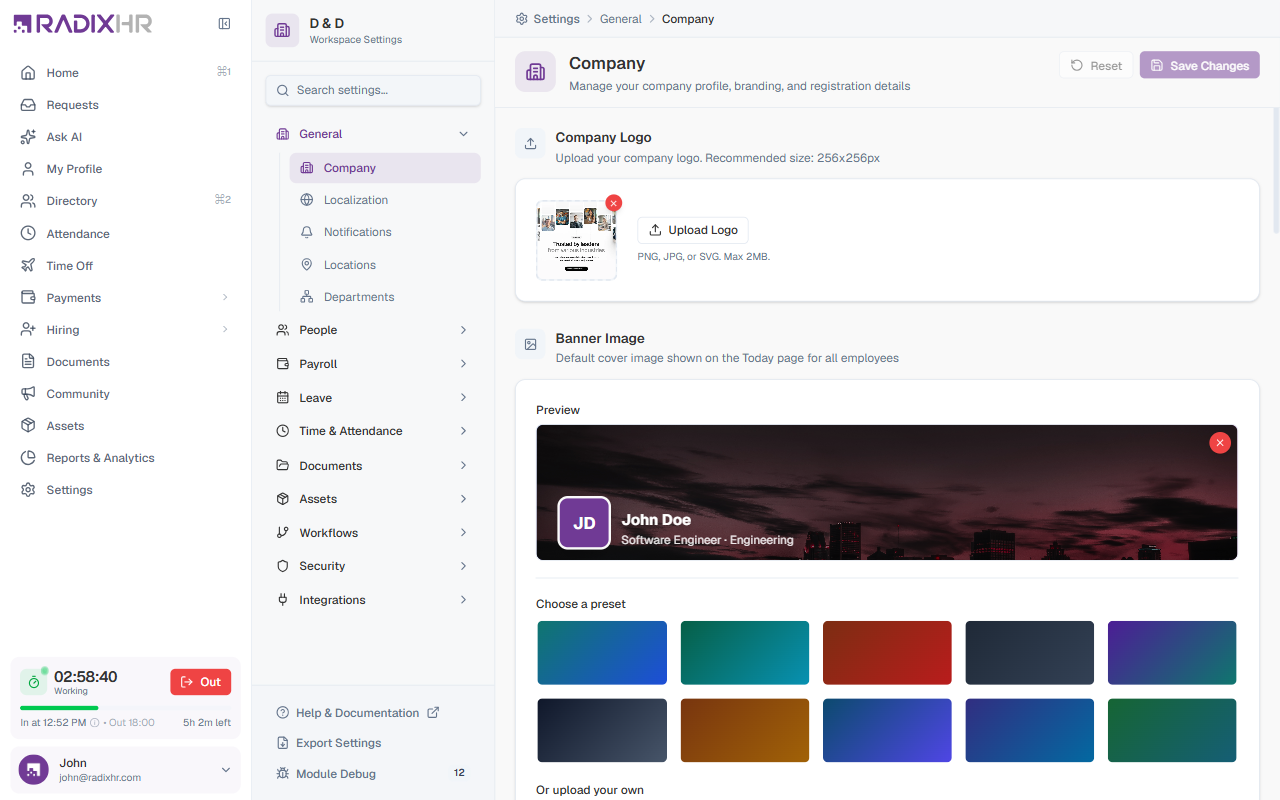
The Company page is organized into sections:
| Section | What you set |
|---|---|
| Company Logo | Your company logo, shown throughout the app. PNG, JPG, or SVG, max 2 MB. |
| Banner Image | The cover image shown on the Today page — pick a colour preset or upload your own |
| Basic Information | Company name, company URL, industry, company size, and a short description |
| Contact Information | Contact email, contact phone, website, and support email |
| Company Details | Official registration details — registered name, entity type, trade license number and expiry, and registered address |
Make your changes and click Save Changes.
Add your Trade License Expiry date — RadixHR can track it and remind you before it lapses.
Step 2 — Localization
Go to Settings → General → Localization to set the regional defaults for your workspace.
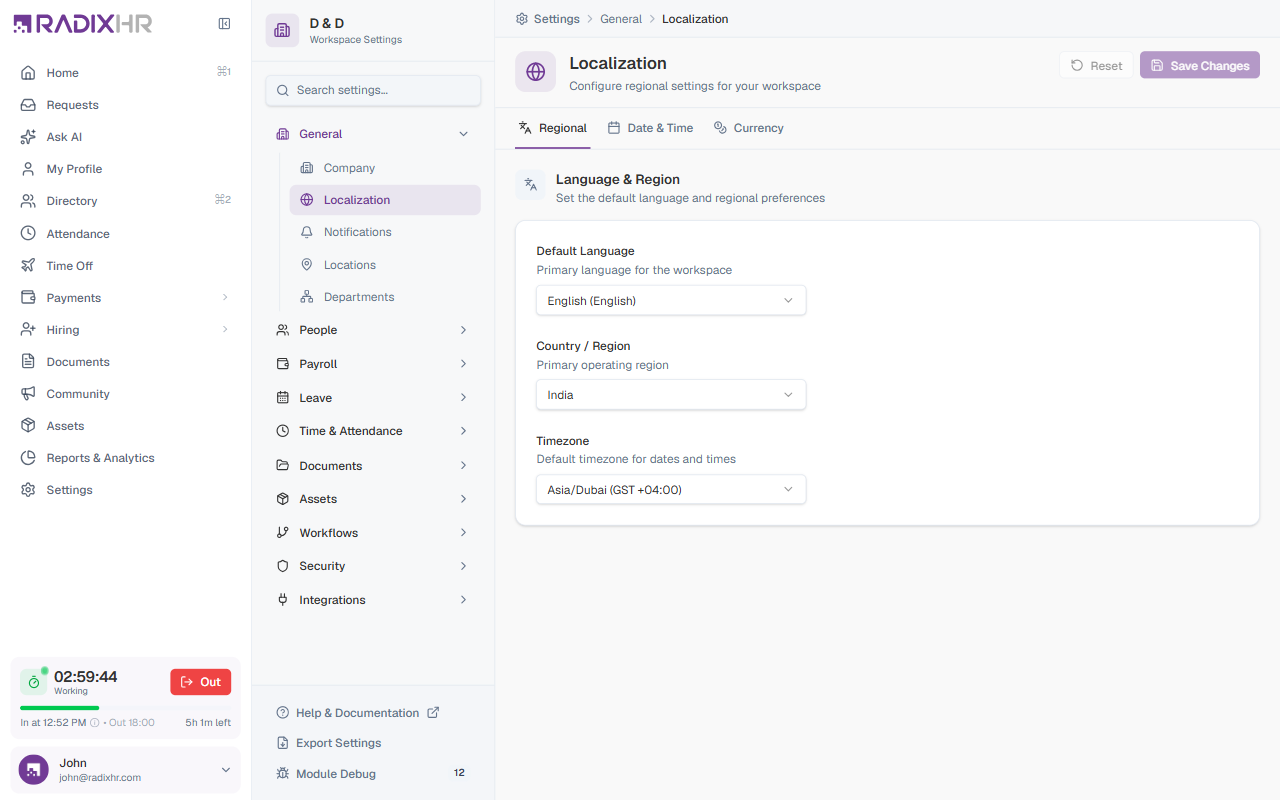
Localization is split into three tabs:
| Tab | What you set |
|---|---|
| Regional | Default language, country / region, and timezone |
| Date & Time | How dates and times are displayed across the app |
| Currency | The default currency used for payroll and expenses |
These defaults apply to the whole workspace. Click Save Changes when you’re done.
Step 3 — Departments
Go to Settings → General → Departments to build your organizational structure. Departments are used throughout RadixHR — for assigning employees, grouping the directory, and reporting.
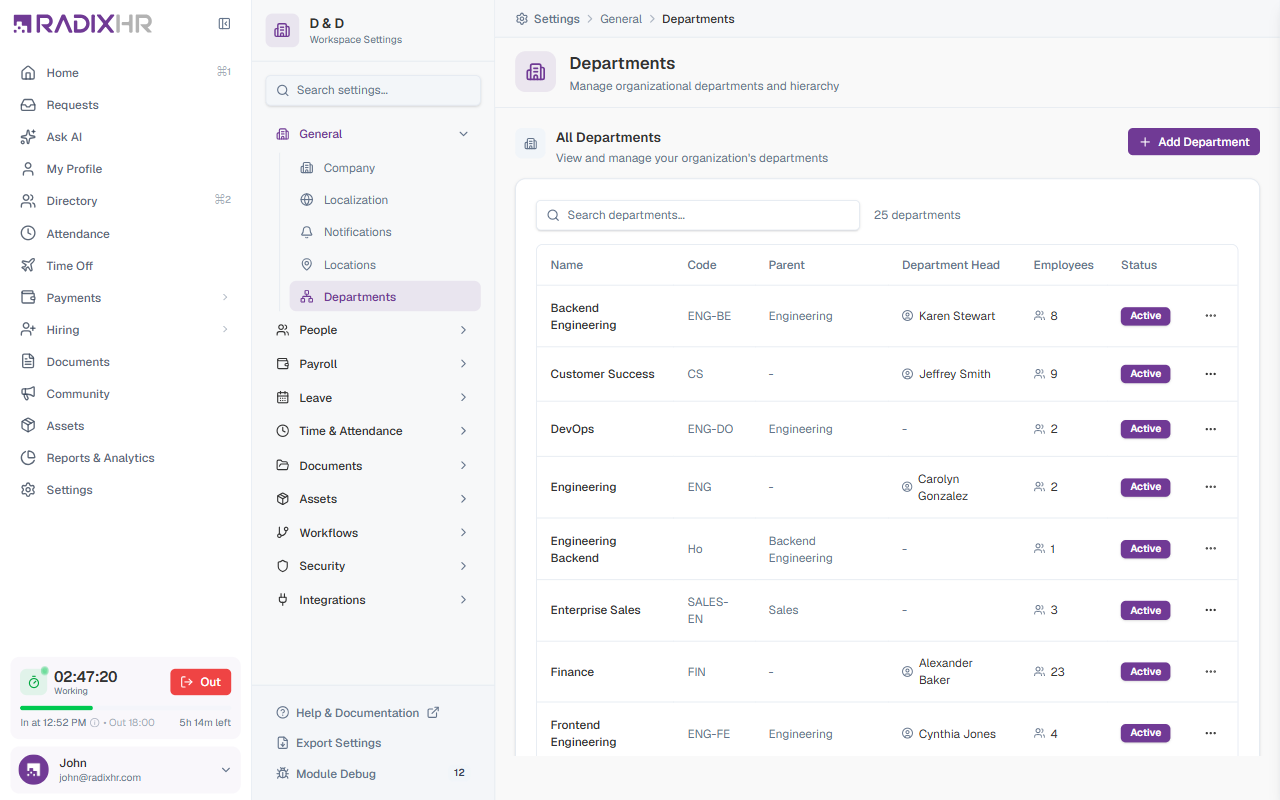
The Departments page lists every department with its Code, Parent department, Department Head, employee count, and status.
To add a department:
- Click Add Department
- Enter the department name and code
- Optionally choose a parent department (to build a hierarchy) and a department head
- Save
Create your departments before adding employees, so you can assign each new hire to a department as you create them.
Step 4 — People Configuration
Under Settings → People, review two more areas before onboarding employees:
- Employment Types — the system-defined categories (Full Time, Part Time, Contract, Intern) that determine default benefits, leave accrual, and payroll behaviour. These are predefined and view-only.
- Job Titles & Grades — the roles and grade levels you can assign to employees.
What’s Next?
With your workspace set up, continue configuring the modules your company uses: