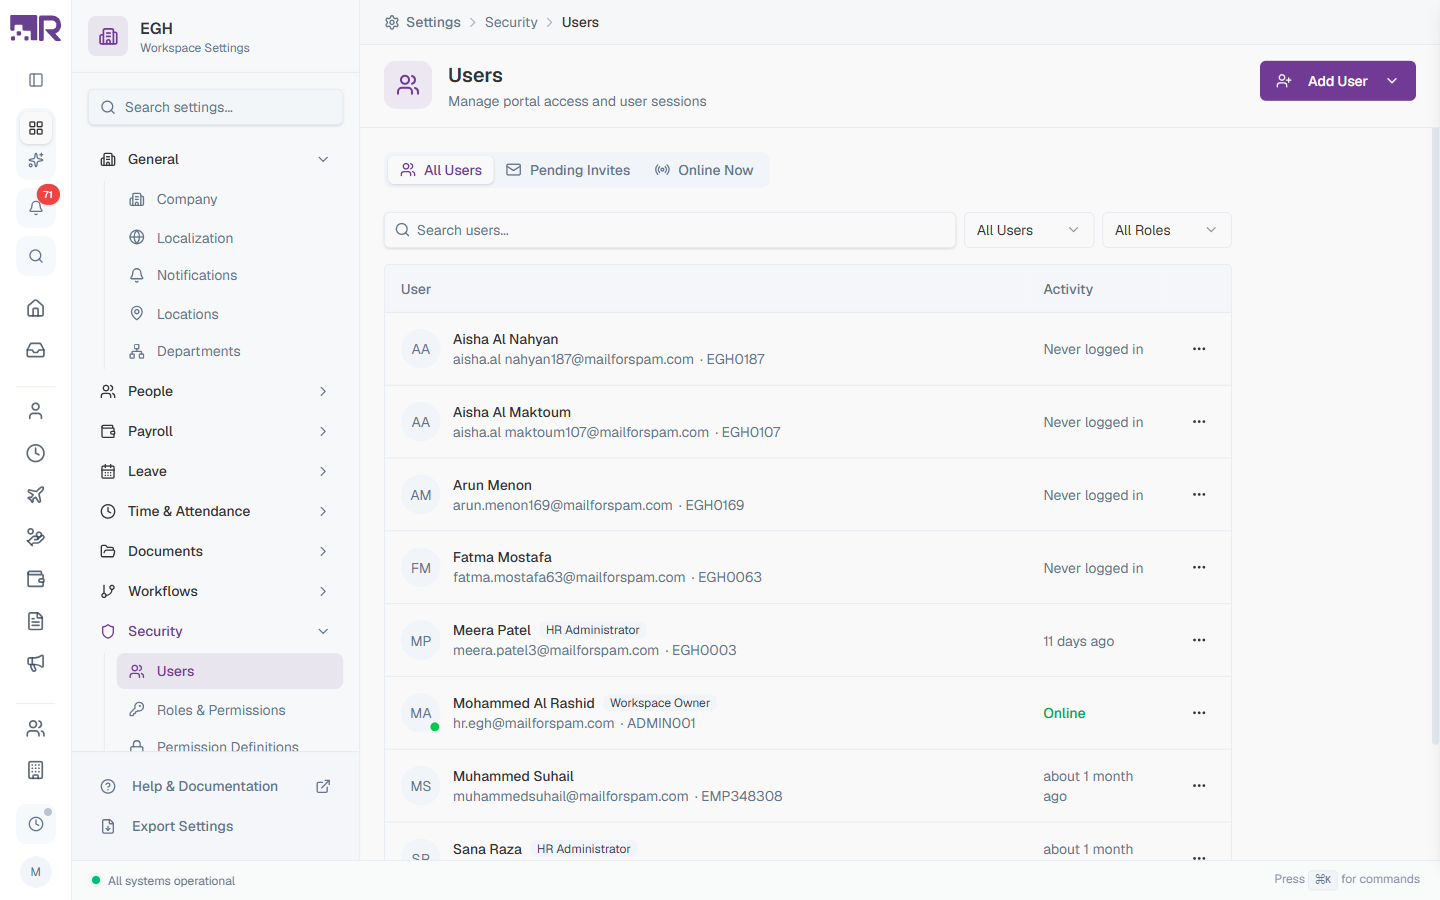
Users
The Users page is where you control who can sign in to RadixHR and what level of access they have. From here you invite employees to the portal, assign them a role, monitor their login activity, and revoke access when needed.
What you can do here:
- View every user with portal access
- Invite employees via email or add them directly with credentials
- Assign a role on top of the default self-service access
- Monitor login activity (online, never logged in, last seen)
- Manage pending invitations and revoke access for ex-employees
Understanding Users
A user is an employee who has been granted access to the RadixHR portal. Not every employee needs portal access — typically you invite the people who:
- Need to submit and track their own requests (leave, expenses, etc.)
- Approve requests from teammates
- Manage HR data, payroll, or settings
- Need to view reports
Each user has:
| Attribute | Description |
|---|---|
| Login credentials | An email + password (or magic link) used to sign in |
| Role assignment | A role on top of the default self-service access — controls what extra features they can use |
| Activity status | When they last logged in (Online, Never logged in, or relative time like “11 days ago”) |
Self-service is automatic. Every invited user gets basic self-service access (view their own profile, submit leave/expense requests, see their payslips). Roles only add extra permissions on top of that baseline.
Page Layout
| Element | Description |
|---|---|
| Add User | Top-right purple button — opens a small menu with Invite via Email and Add Directly options |
| Tab: All Users | Every user with portal access (default tab) |
| Tab: Pending Invites | Invitations sent but not yet accepted |
| Tab: Online Now | Users currently signed in |
| Search users… | Free-text search by name or email |
| All Users (filter) | Filter by status: All Users / Active / Inactive |
| All Roles (filter) | Filter by assigned role |
The table has two columns: User (avatar + name + role badge + email + employee code) and Activity (login state). Each row has an Actions ⋯ menu at the end.
How to Invite a User
You can add users in two ways. Invite via Email is the recommended path for normal onboarding; Add Directly is for cases where you need an account immediately without waiting for the user to verify their email.
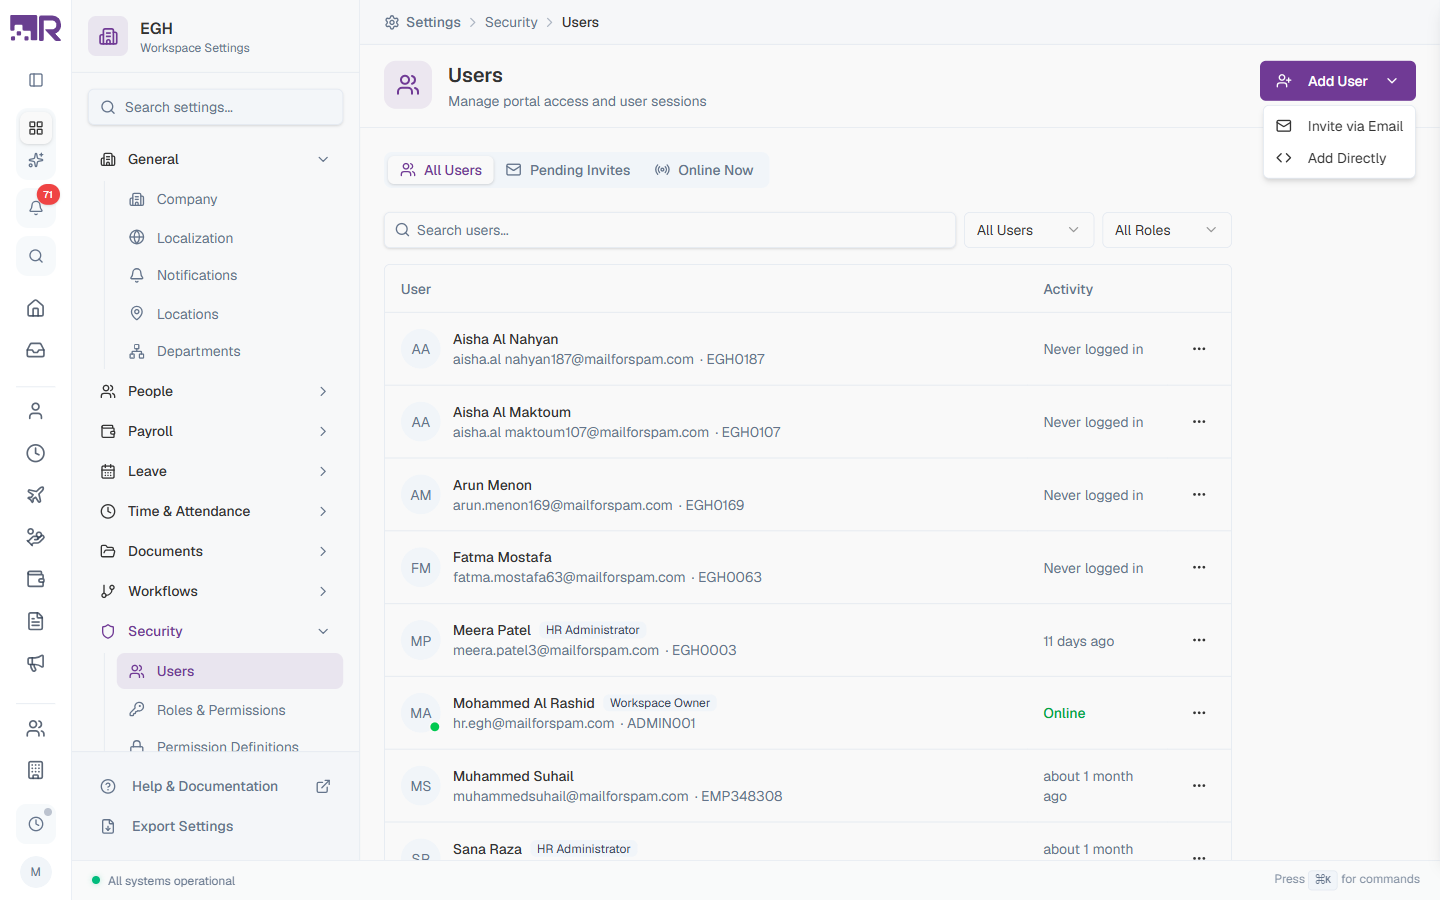
Invite via Email
- Go to Settings > Security > Users
- Click Add User in the top-right
- Choose Invite via Email from the dropdown
- Pick the employee
- Optionally pick a role
- Click Send Credentials
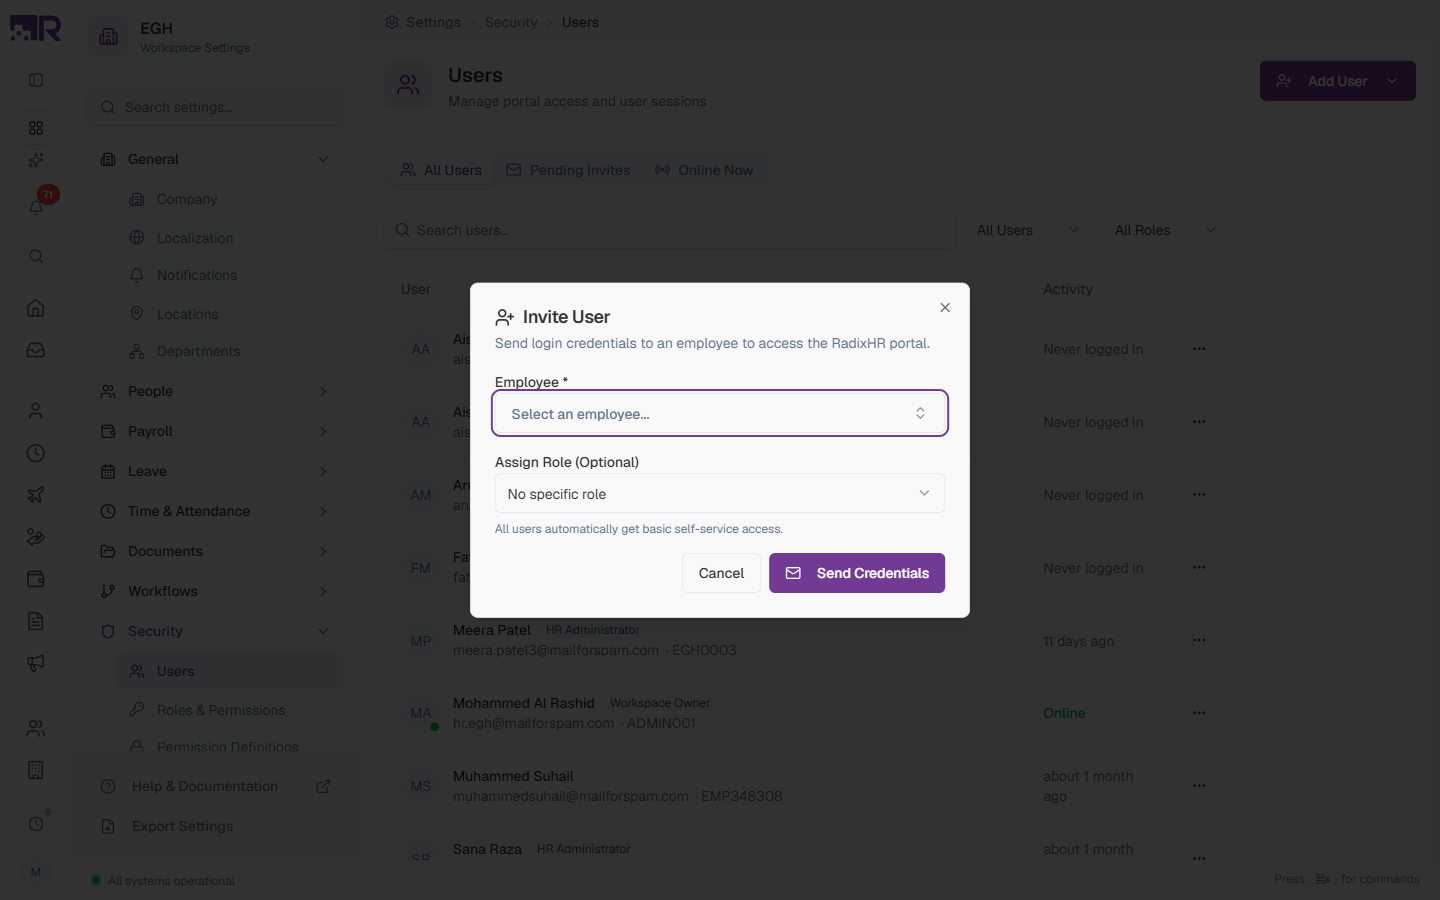
Form Fields
| Field | Description | Required |
|---|---|---|
| Employee | Pick the employee to invite. Only employees who don’t already have access appear in the list. | Yes |
| Assign Role (Optional) | Pick a role to grant extra permissions on top of self-service. Options: No specific role (default), Employee, HR Administrator, Workspace Owner. | No |
The user receives an email with a link to set their password and sign in. Their entry shows up immediately in the Pending Invites tab.
All users automatically get basic self-service access — picking a role is only needed if they should see more than their own profile (e.g., HR Administrator for HR staff, Employee for managers who approve requests).
Add Directly
Use this method when you need an account live straight away — for example, the user can’t access the invitation email yet, or you’re testing.
- Click Add User > Add Directly
- Pick the employee
- Set a temporary password
- Optionally assign a role
- Click Create User
Communicate the temporary password through a secure channel (in person, encrypted message) and instruct the user to change it on first login. Avoid sending it via email.
Activity States
The Activity column shows the user’s current login state.
| State | Description |
|---|---|
| Online (green) | The user is currently signed in |
| Never logged in | An account exists but the user hasn’t completed first sign-in yet |
| N days/months ago | Relative time since the user’s most recent sign-in (e.g., “11 days ago”, “about 1 month ago”) |
How to Manage a User
Click the ⋯ Actions menu at the end of any user row to access:
| Action | Description |
|---|---|
| View Profile | Open the employee’s full profile page |
| Change Role | Assign a different role (or set to no specific role) |
| Reset Password | Send a password-reset link to the user’s email |
| Revoke Access | Remove the user’s portal access without deleting their employee record |
| End Sessions | Force the user to sign out of every device they’re logged into |
Revoke Access doesn’t delete the employee — it only removes their ability to sign in. The employee record, leave history, payslips, and documents all remain intact for HR and audit purposes.
Pending Invites Tab
Invitations that were sent but haven’t been accepted yet. From this tab you can:
| Action | Description |
|---|---|
| Resend | Send the invitation email again (useful if the original landed in spam) |
| Cancel | Withdraw the invitation before the user accepts |
If an employee says they didn’t receive the invitation, ask them to check their spam folder first. If it’s not there, use Resend to send a fresh email with a new link.
Online Now Tab
Lists every user currently signed in. Use this to monitor active sessions, especially during sensitive operations (e.g., audits, terminations) or to spot unexpected access.
Searching and Filtering
Above the user table:
- Search users… — Type a name or email to filter the list in real time
- All Users (status filter) — Switch between All / Active / Inactive
- All Roles (role filter) — Show only users with a specific role
Best Practices
-
Use roles instead of per-user permissions — assign a role like HR Administrator rather than granting permissions one user at a time. Easier to audit and update.
-
Audit users quarterly — go through the list, check who hasn’t logged in for 90+ days, and revoke access for ex-employees who may have been missed during offboarding.
-
Revoke access on the day someone leaves — don’t wait. Use the Revoke Access action immediately, then end any active sessions with End Sessions.
-
Send invitations during onboarding — invite employees on day one so they can immediately access self-service tools (leave, payslips, profile updates).
-
Reset passwords through the platform — never share passwords over email or chat. Use Reset Password so the user sets their own.
-
Watch the Online Now tab during sensitive operations — for example, before running payroll or making bulk changes, check who’s online to coordinate.
When an employee leaves the organisation, revoke their portal access immediately. Use End Sessions to log them out of any active devices. This prevents unauthorised access to HR data.